Install your Flextheme
After following the steps described in this article, you should now have a working environment where you can install your theme and start building your website.
1. Temporary Domain/ Live Website Install
Before activating the theme, we need to check whether you will install the theme on a temporary domain (staging) or on your live website.
If you are moving from a different platform or decide to work on staging, most probably you will have a temporary domain given by your hosting where you can directly activate the theme. In this case, go directly to step 4.
If you currently have a WordPress theme, you can work on your new Flextheme with zero downtime. You don't need a maintenance plugin.
You can use FloLaunch to create a test website and work on your new website privately. The good part is that any other users will see your default website.
You can download the plugin here.
A full tutorial on how to use FloLaunch can be found here.
NOTE: Please note that the FloLaunch Plugin is a free product fully developed by Flothemes and we can't guarantee compatibility with all hosting providers.
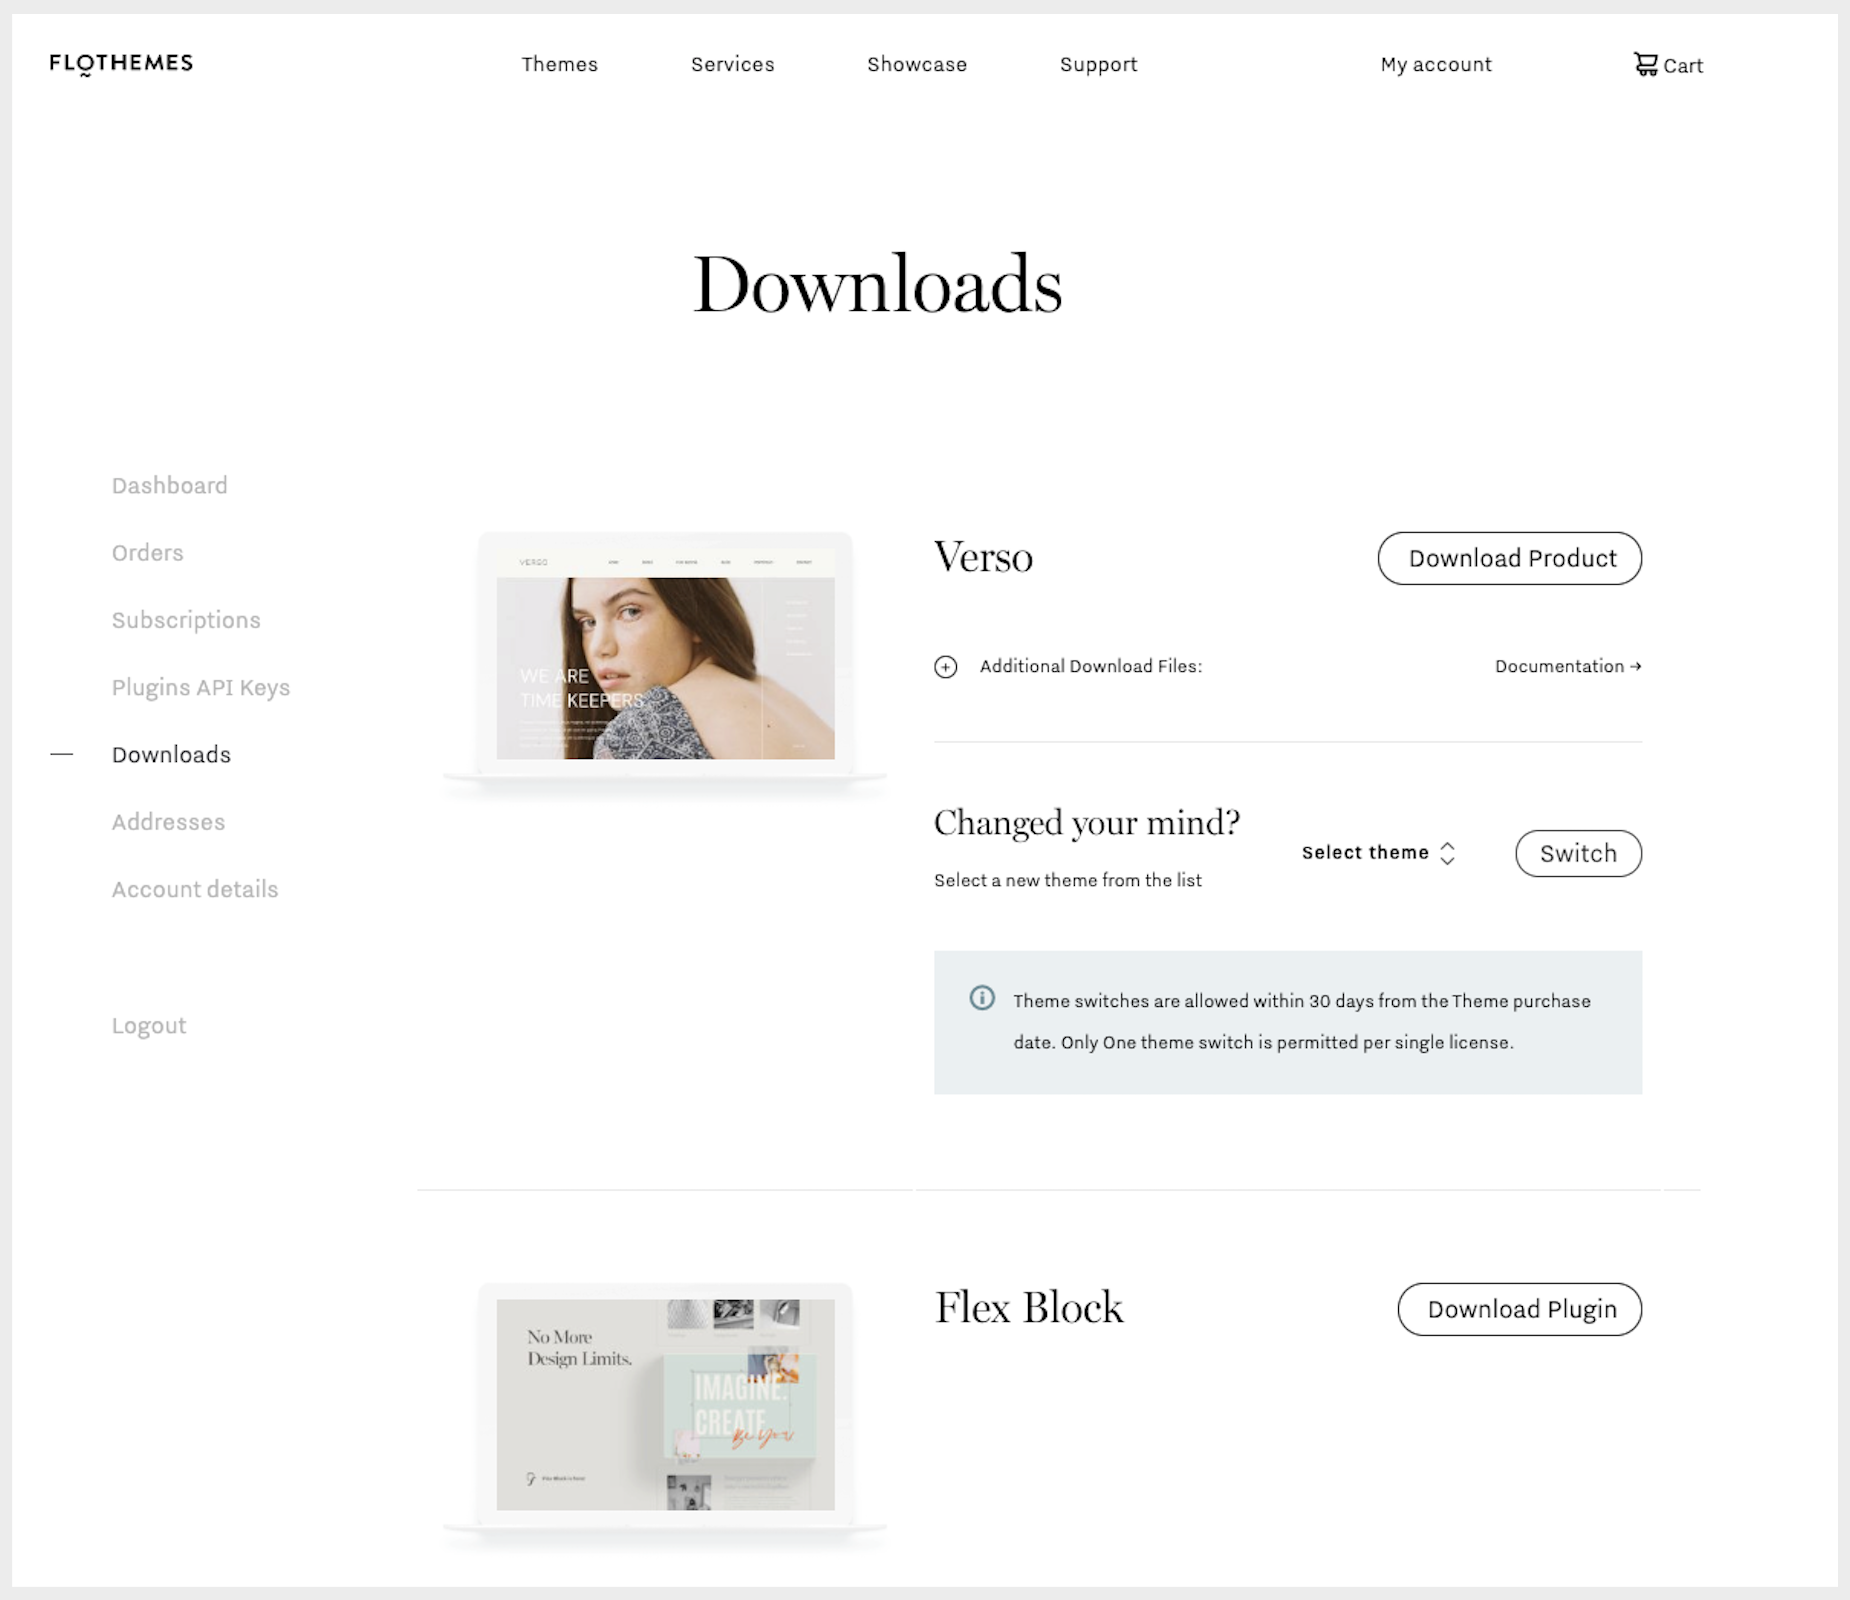
2. Download your theme
Now, we can proceed with installing your theme.
Please login to your new Flotheme Account and use the download link within.
Make sure you download both the theme and the Flex Plugin right away.
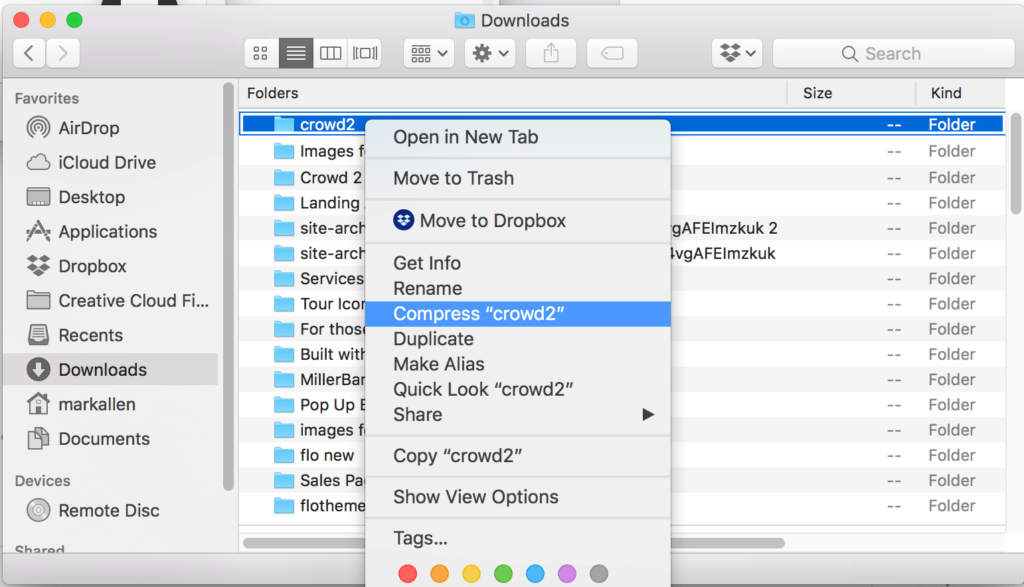
3. Check Files
Make sure that your downloaded file is a .zip file. For Mac users, the file is often unzipped.
In this case, make sure to compress the unzipped folder.
4. Install Theme
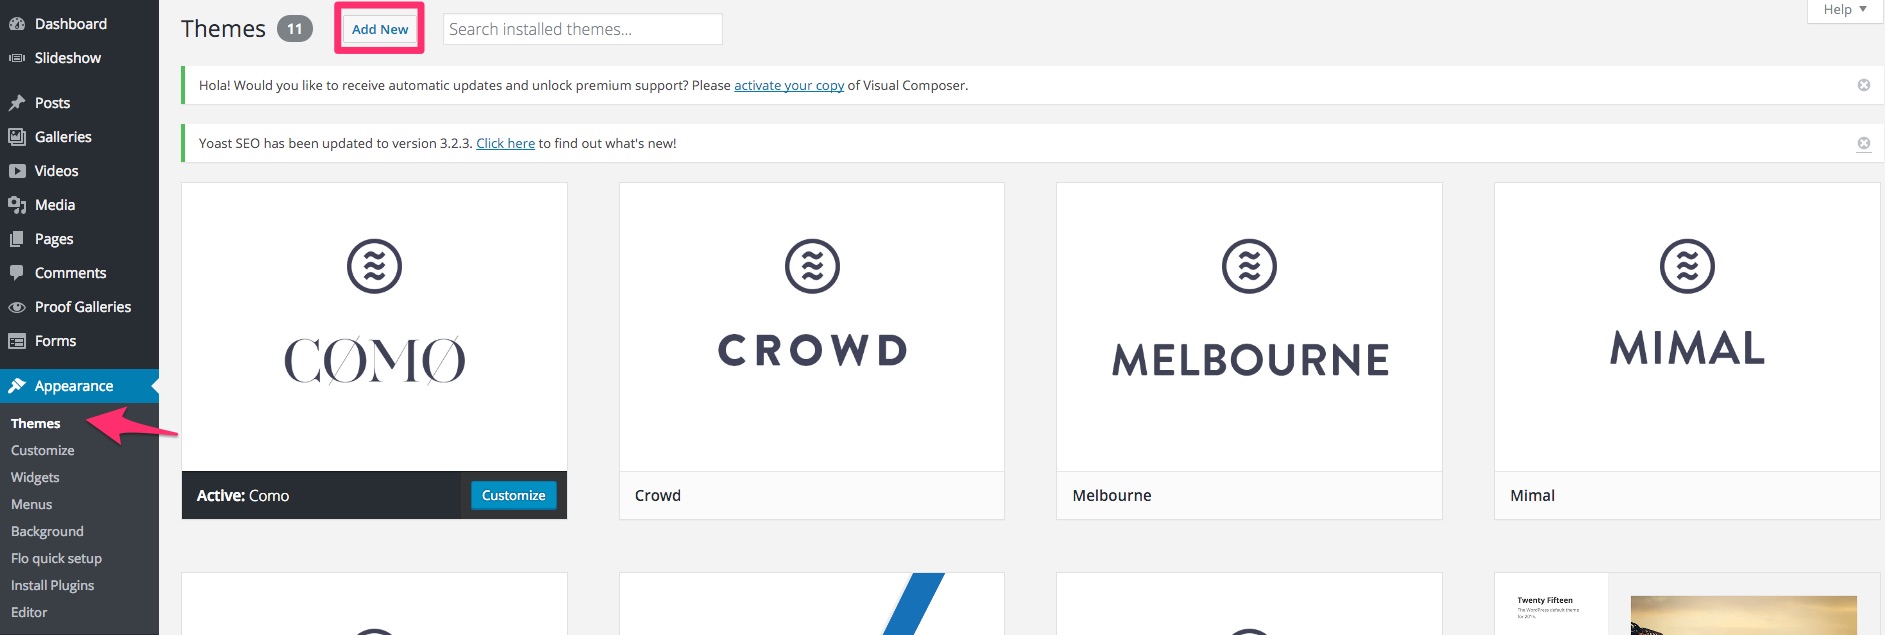
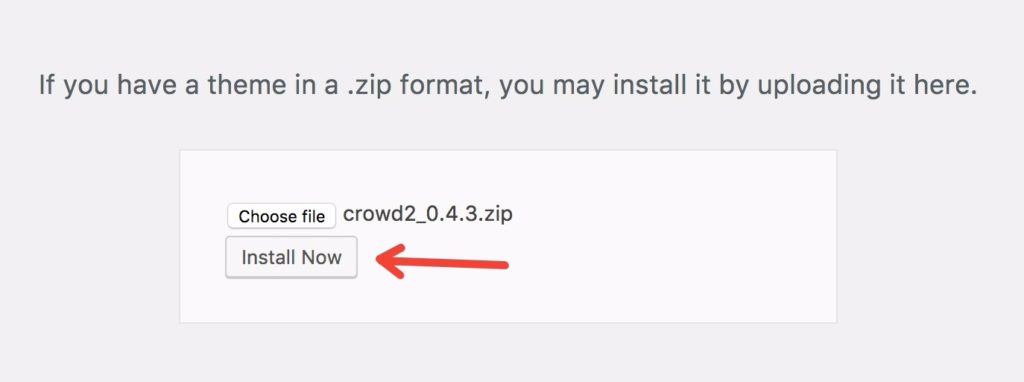
4.1. Wizard
If you use Nessa, Cotton, Ember, Nomade, or Zephyr, after your theme's installation, our Wizard will be triggered and you'll be guided through the first steps of theme setup. It will activate your theme by asking you to add your order ID, it will install all of our required plugins, and will give an option to directly import the Demo Content.
After running the Wizard, you can skip all of the steps below.

5. Install FlexBlock
After you activated the theme, you need to install FlexBlock plugin.
The theme won’t work properly unless you install FlexBlock plugin before start using it.
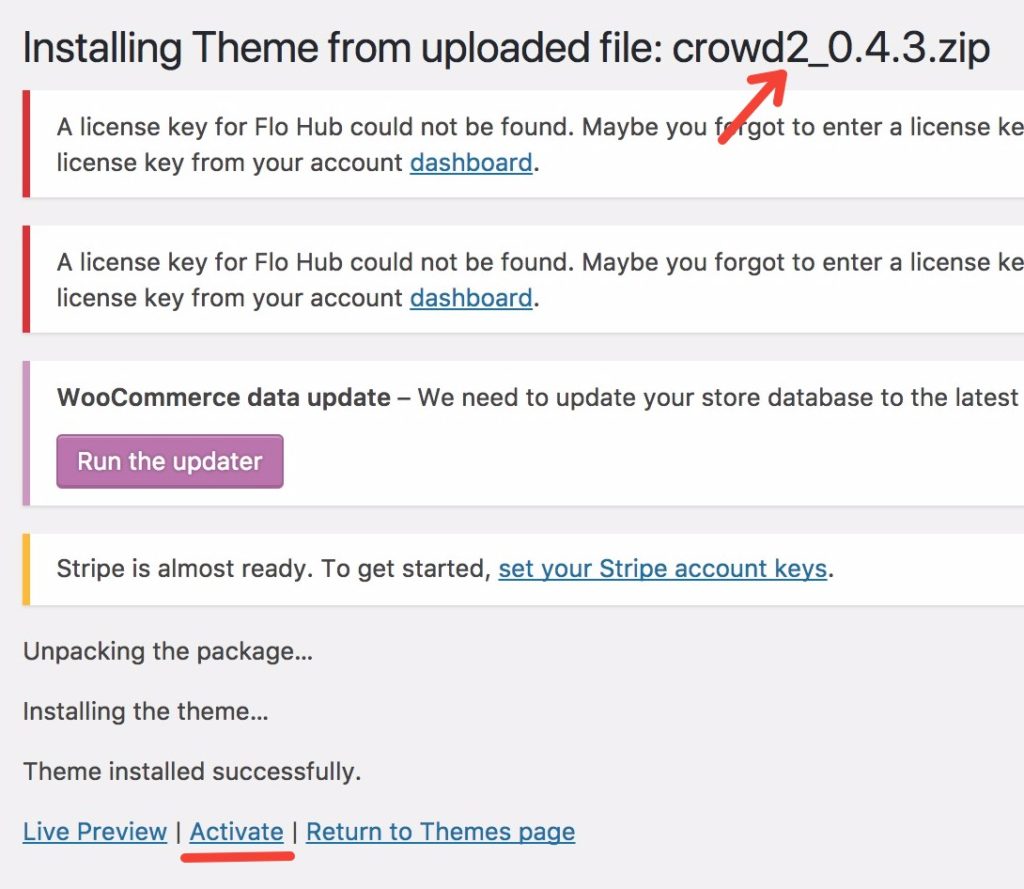
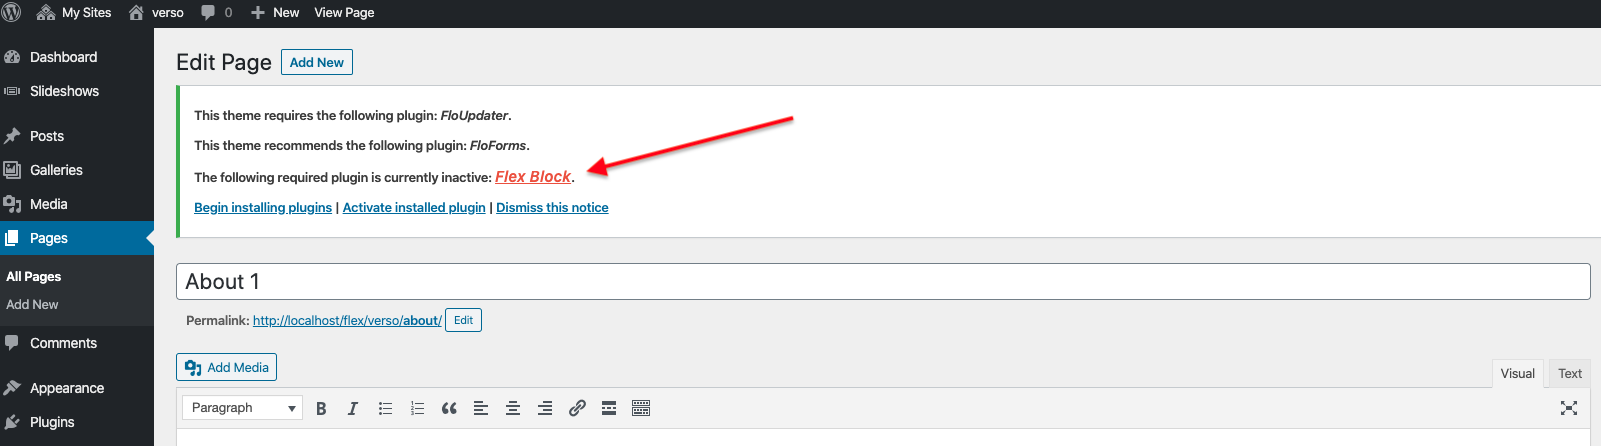
In case you have not downloaded Flex Block plugin from Downloads, after the theme activation you will see the notification in red to install Flex Plugin:
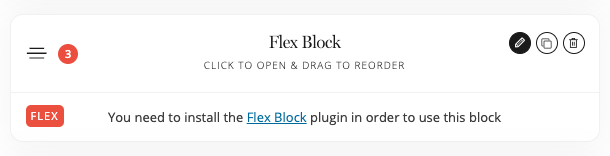
If you missed the message and will try to use Flex Block without the plugin being installed, you get a message to install the plugin:
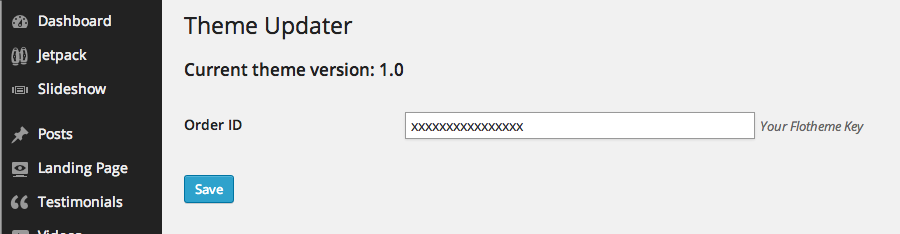
6. Activate your License
Make sure your order key is set under Flex Admin -> My Account.
A common mistake is that users are using the key related to a different purchase (Usually an installation service) and because of that they do not receive updates.
You can get your order number from your account at www.flothemes.com/my-account/ and then in the orders tab:
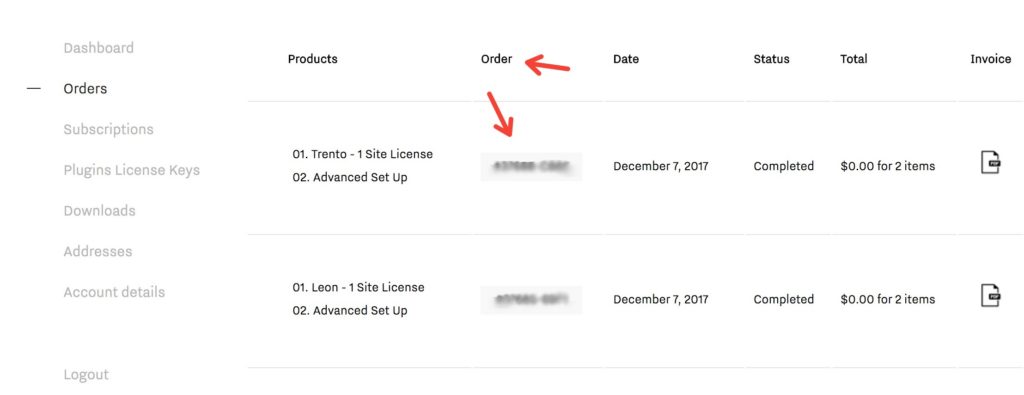
So make sure you are using the key for the current activated theme, it should be an 8/9 digit number in the following format XXXXX-XXXX for new themes.
If you didn’t receive your order key please contact us at info@flothemes.com.
NOTE: The Order ID must be inserted without the hashtag (#) symbol. Otherwise, you will not be able to update the theme.

If after adding the order ID you're still getting an error that your theme wasn't activated, we'd recommend getting in touch with your hosting provider and ask them to check whether your theme folder name is the correct one. The name of the folder inside your File Manager will depend based on your theme. The format for Lyra should be "lyra", not "lyra-1", etc.
Troubleshooting

'Package could not be installed, missing stylesheet' error
This happens if the zip file has the wrong name and sometimes if you're uploading the file using Safari.
To solve this, use Chrome. Next, unpack the file that you just downloaded and you'll find a folder inside. Compress that folder. It should have your theme's name, ie lyra.zip. Try uploading it one more time and you should be good to go.
'Destination Folder Already Exists' error
If you're receiving this error, it means that there was a previous install of this theme on your website and there already exists a folder with the same name on your server. Follow these steps to solve the issue.
Blank Screen or an "Out of Memory" error.
*NOTE If automatic installation fails for any reason, please review the process above and review your steps. If you still are experiencing installation issues, another option is to use an FTP service (such as FileZilla) for installing your theme. Note this method is for intermediate users and should only be used if you cannot upload via the WordPress installer.