FloHub - Form Setup
In the following article, we will go over the Form Setup tab. This section is responsible for the contact form settings within a price list.
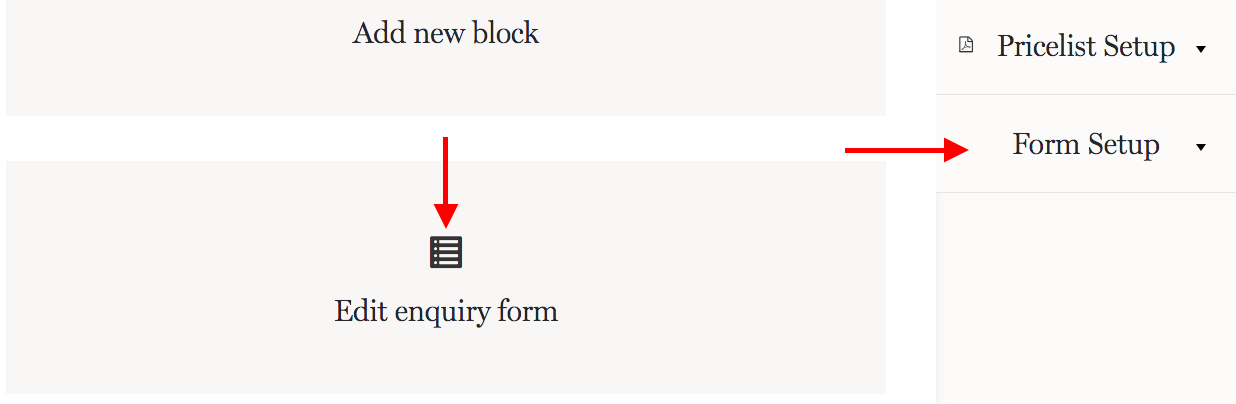
You can access these settings by scrolling down your price list back-end and clicking on the Edit Enquiry Form or the Form Setup tab in the right column.
There are three major sections within the Contact Form you can adjust:
1. Form Fields and Settings
2. Form Layout and Settings
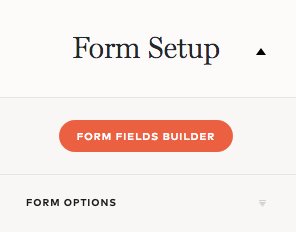
You can access these settings by clicking on the Form Fields Builder button within the Form Setup tab in the right column
or hovering over the contact form Form Fields Builder button where you can choose to access the Form Fields or Form Layout settings.

Regardless of which route you select, the settings are identical and you can always switch between the Form Fields and Form Layout settings.
3. Form Appearance Options
This is where you adjust the visual appearance of the Contact Form Fields, Colors, Styles, Buttons, etc.

Below we will cover the 3 different settings areas in more detail.
Form Fields and Settings
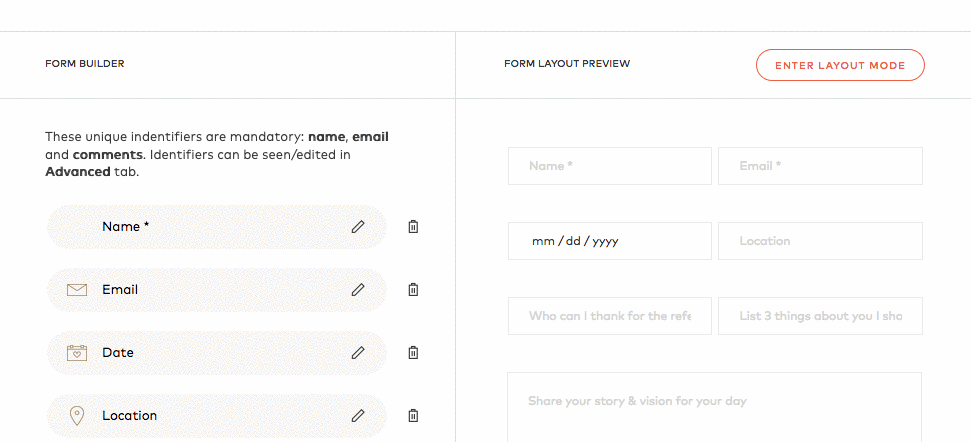
The Form Fields Builder area allows you to manage, add, remove the contact form fields and components.
1. Editing Form Fields

Unfold the Form Field Settings where you can change the Field Placeholder, decide if a field should be Required or not, etc.
Form Layout and Settings
To change the contact form layout, you will need to Enter Layout Mode.
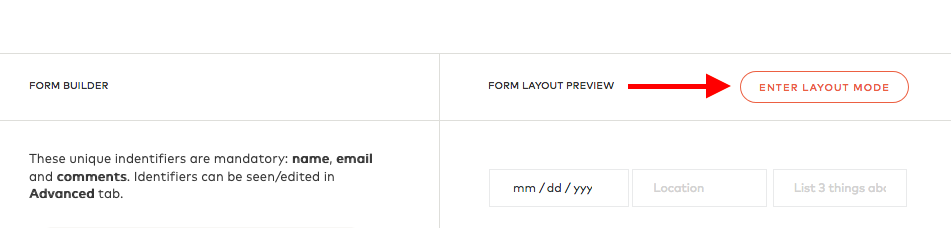
From there, you can change the order of the Contact Form Fields, create 1, 2 and 3 column rows, etc. With our drag and drop system you can also change order for entire rows, not just fields.
Once everything is taken care of and ready to go, simply Exit Layout Mode and settings will be saved.
Form Appearance Options
In the following area you can make changes to the visual settings of your contact form.
There are 4 settings tabs:
1. Form Options – where you can change some basic text titles and button titles.
2. Form Styles – allow you to change the colors within the contact form. This includes: Label colors, Placeholder Text colors, Field Boarder color, etc. You can also change the Field Style: Rectangle, Rounded and Underline.
3. Submit Button Styles – provides options to change the appearance of the Send / Submit button. This will include the button shape, button style, color and text color.
4. Confirmation Message – here you can enable/disable Download and Print Options, Checkbox Icon and Contact Info.
You can also change the Message Headline and Message Content.