How to add the Pinterest button to your website blog
Adding a Pinterest button to your website blog is simple.
In the following tutorial, we are going to show you how you can use the JQuery Pin it Button for Images plugin to add a Pinterest Pin icon on your blog.
First things first, you’ll want to install the JQuery Pin it Button for Images plugin via the WordPress dashboard.
Go to Plugins > Add New > Search for “JQuery Pin It” and you’ll find the first result:
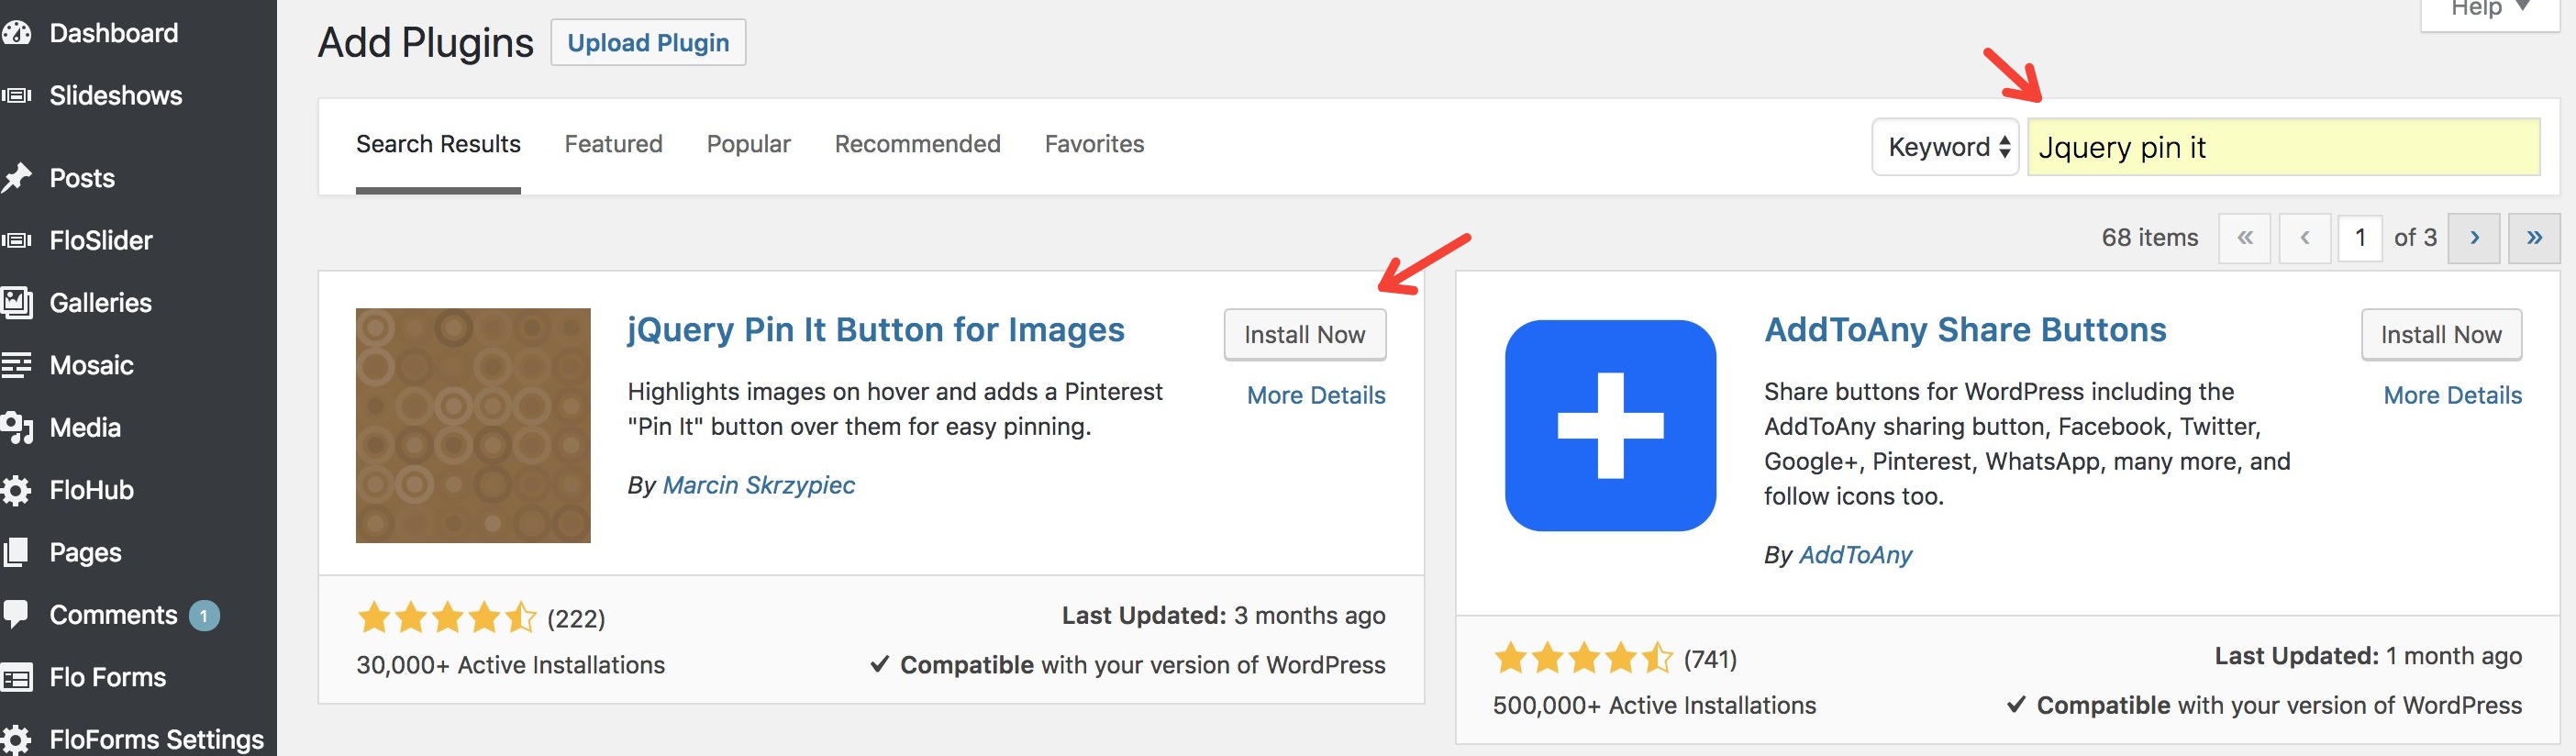
Once installed, activate the plugin:
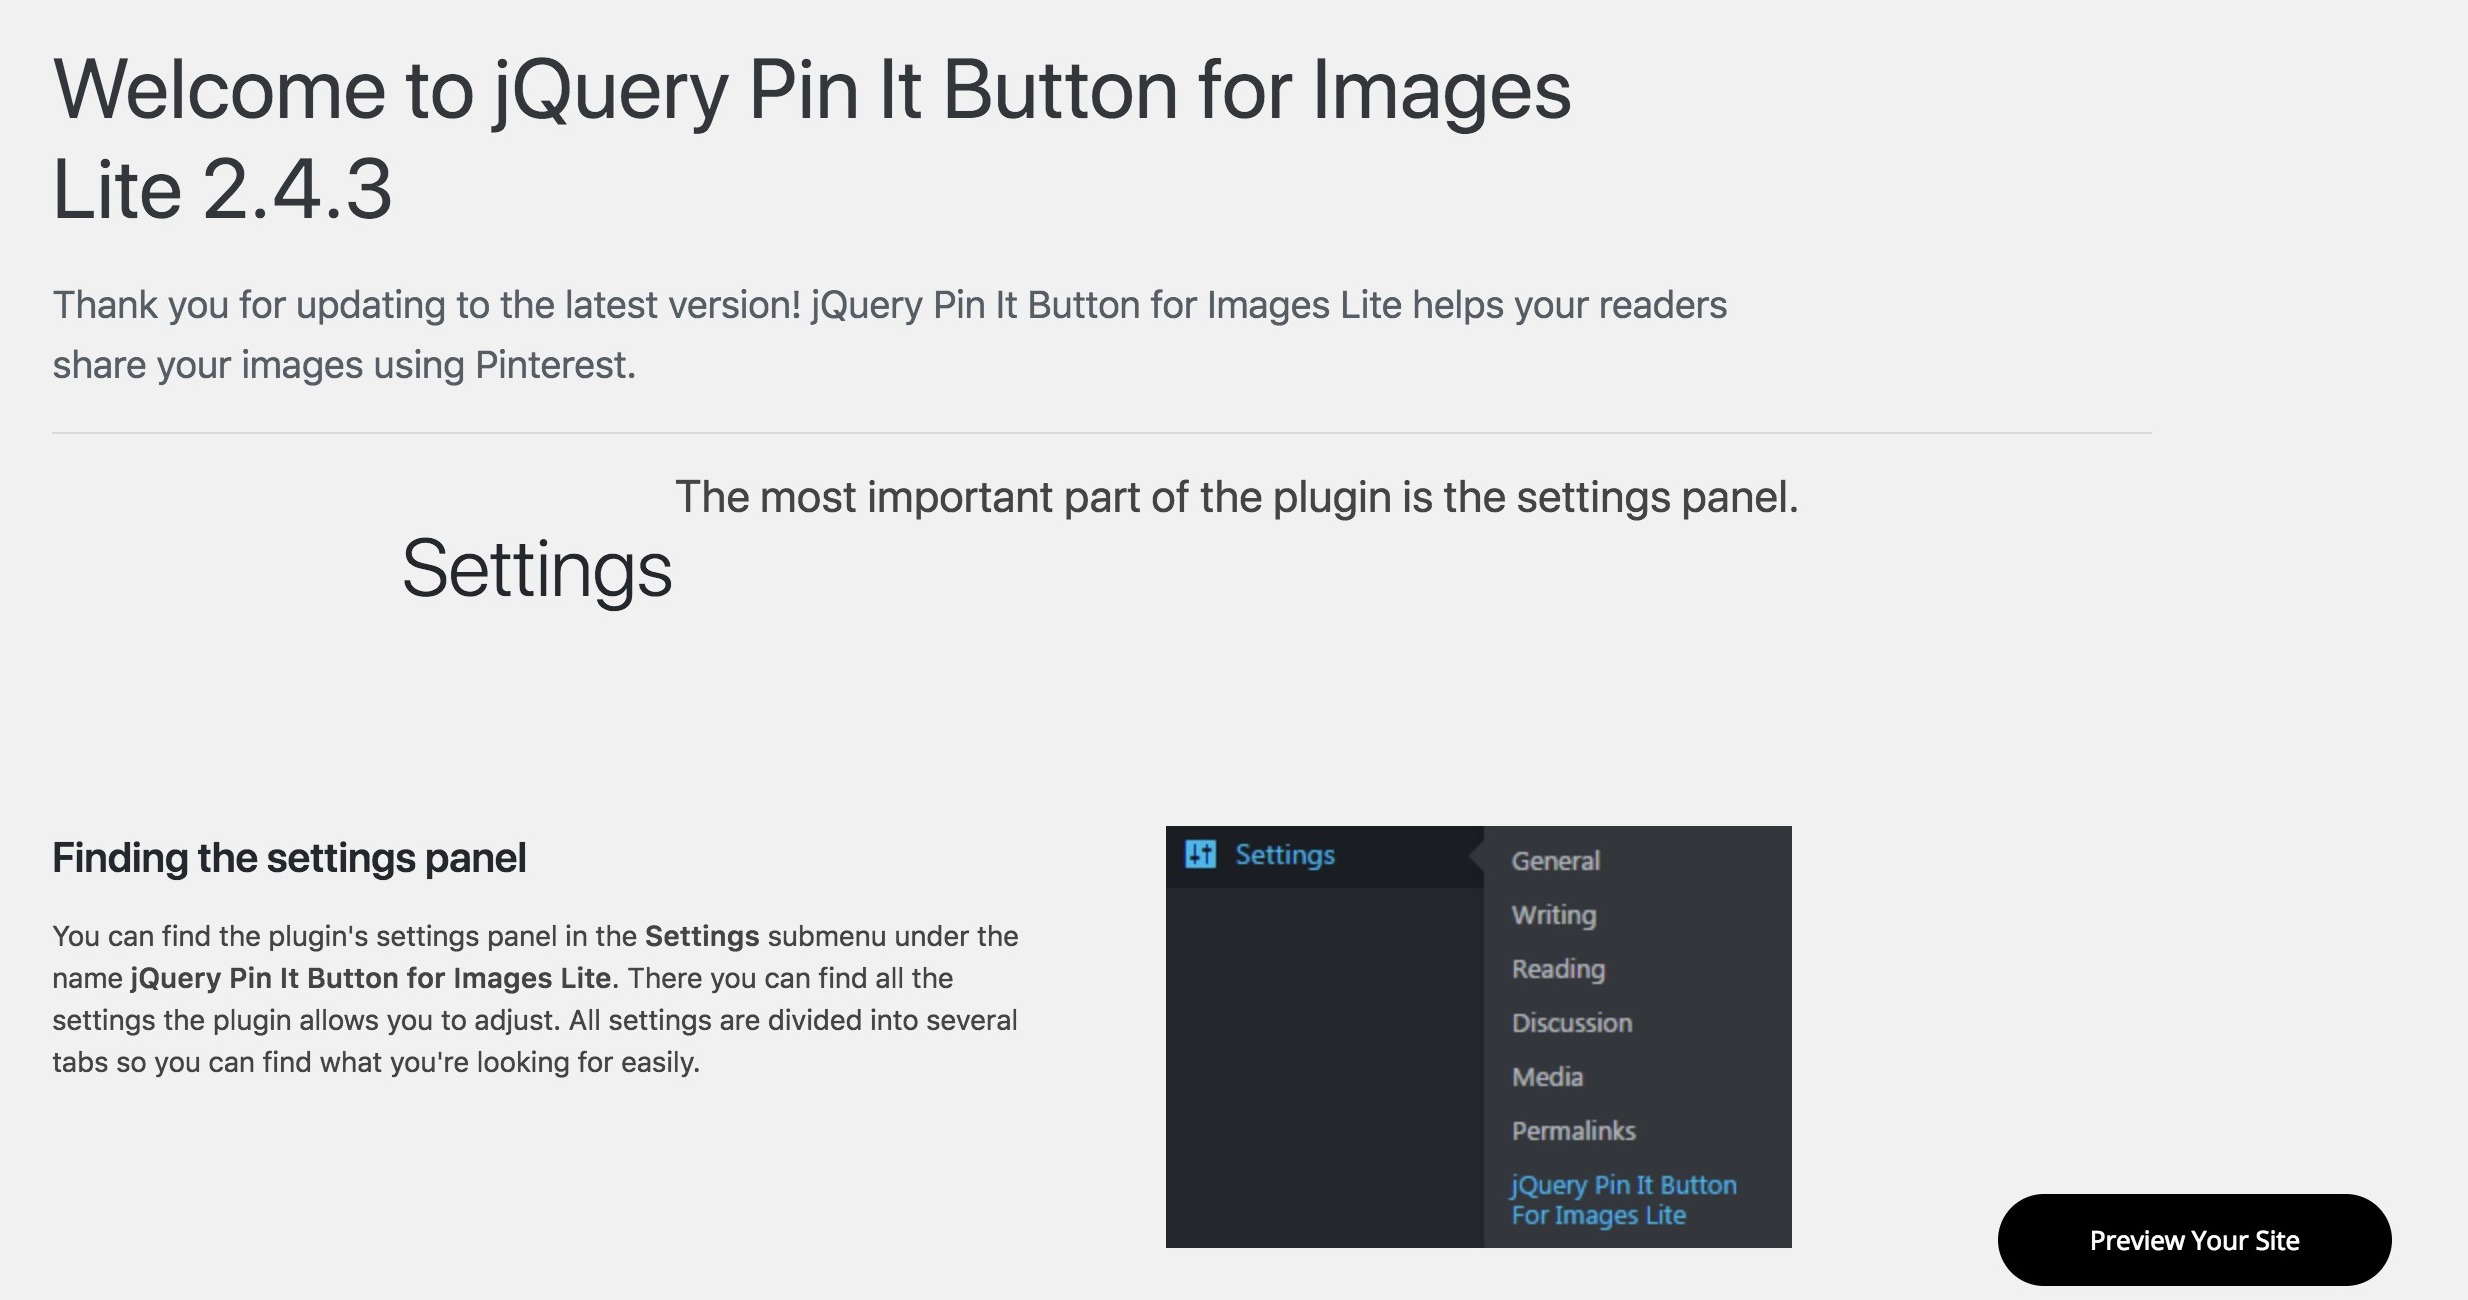
Now go to Settings > JQuery Pin It Button for Images.
Image selector
In the Image Selector area, you will need to add which elements should have the "Pin it" button.
If you add the selector img:not(.flo-header__logo-image), this means that all of your images will have the button, excepting your logo.
 Select the pages on which the "Pin it" button should be shown
 Select the pages on which the "Pin it" button should be shown
By default, you'll have these pages added: [front],[home],[single],[page],[archive],[search],[category], [post_type]
See below what each tag means. If you want the button to be displayed only on your galleries and blog posts, then delete everything and leave [post_type] only.
Styling and the Visual Tab
Next, go to the visual tab, you can choose when to show the button, by default its when a user hovers over it.
Then scroll down to the rest of the settings:
- Choose the pin image, you can choose a number of options here including uploading a custom pin image. If you use a pin image, make sure its a png file, it’s recommended that the image is around 20 x 20px
- Choose the pin location, top, or bottom, left or right
- Choose margins, that is how far from the edge of the image you want the icon to show
That's it, users should now be able to your images directly to Pinterest.