How to setup FloDesk
In this article, we will go over the steps on how to create, customize, and integrate a Flodesk pop-up form inside your site. NB: Flothemes is not affiliated with Flodesk. Any issues with your Flodesk account and forms should be addressed with Flodesk support.
Creating New Flodesk Forms

From here follow the steps to create your form:
1. Select what type of form you want to create from provided templates
2. Once you decide what template you want to choose, click on Customize button that appears on hover
3. A pop-up window will request you to find or create a segment for your form
4. Design your form by editing its elements, ie. text, imagery, buttons, background, etc.
5. Customize your form’s settings, ie: opt-ins, what happens after your users sign up, timing(specific for pop-ups), etc.
6. Final steps are your embed options.
Editing Existing Flodesk Forms
Inside your Flodesk account under the Forms tab, you will find all available forms that you currently have. You can view all forms or filter them by type.
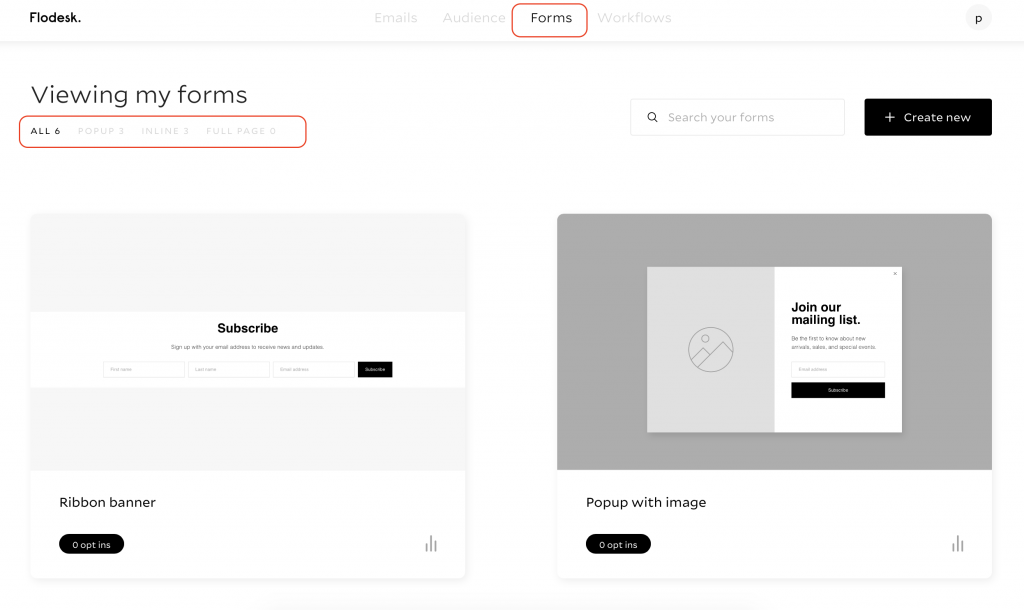
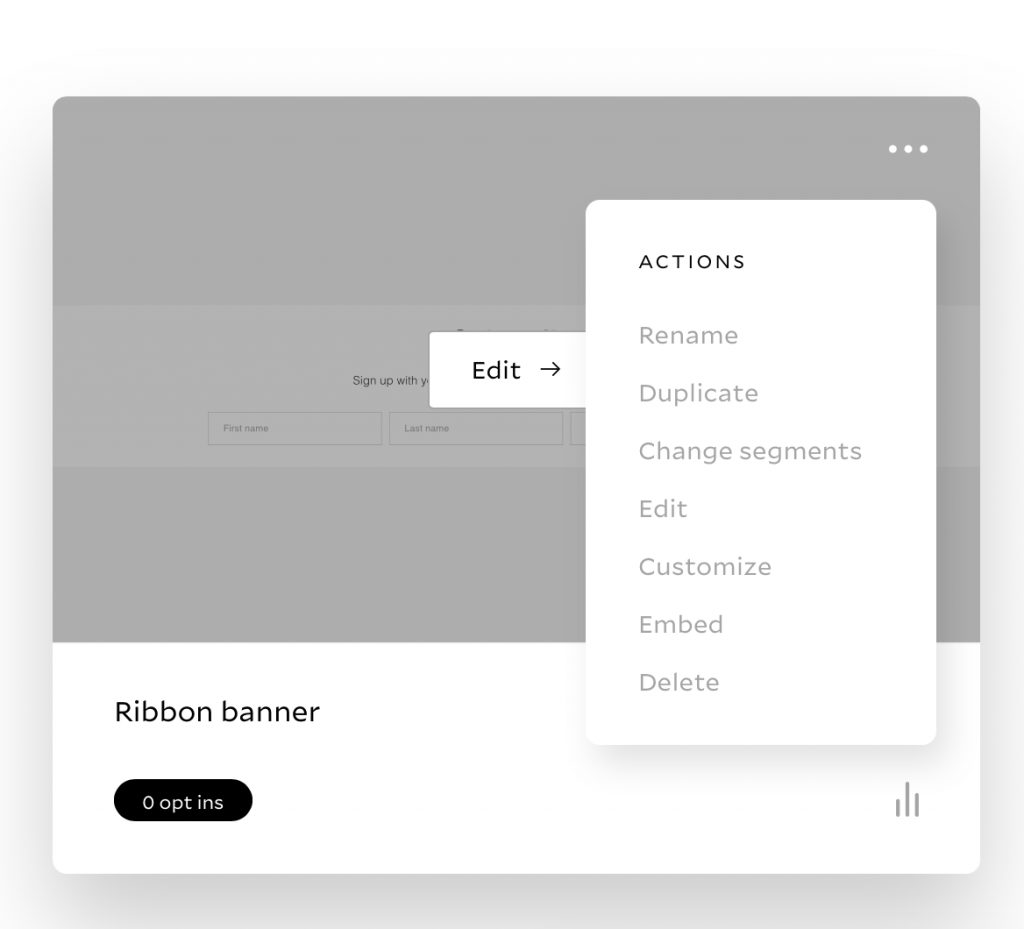
To edit the form and go through the steps as when you create a new form, click on the Edit button that appears when you hover on the form. If there’s a specific setting you want to edit click on the 3 dots that appear in the right top corner when you hover over the form. To embed the form select the options from the dropdown and follow the steps described below in this tutorial.
Embed a Flodesk Pop-up form
When you create a new Pop-up form, at the Embed stage you will find the Header Code that you need to copy and integrate inside your site.
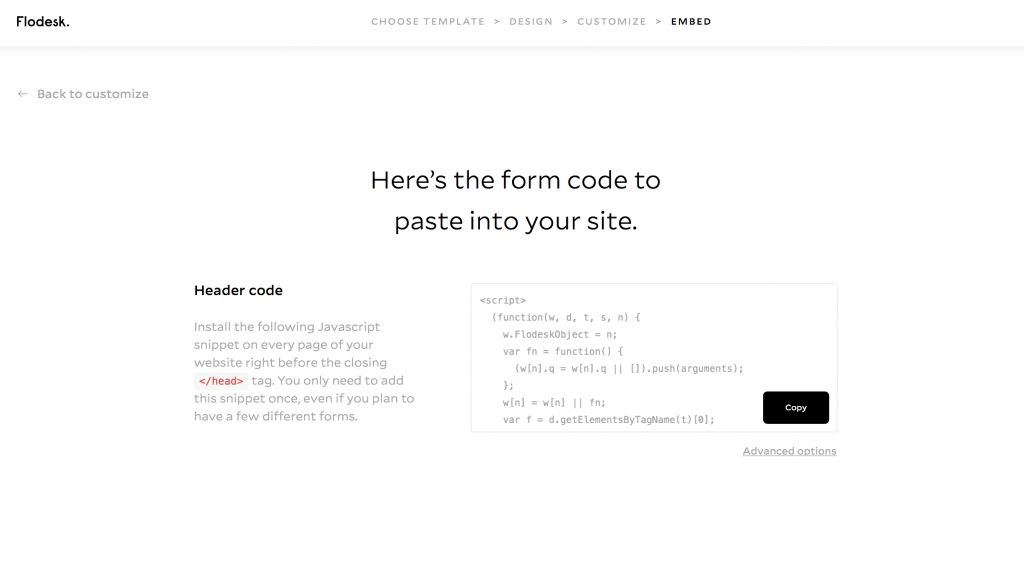
If you are trying to embed an already existing form, find the form under the Forms tab in your account, hover over the form, click on three dots that appear at the top right corner, and select Embed from the dropdown.
Flodesk also offers Advanced Options which you can edit per your preference.
Once you have the script copied, you need to access your site’s WordPress dashboard, aka wp-admin. Go to the Flothemes tab from the left side menu → Generics → Miscellaneous -> Analytics code and paste the script code into the provided JavaScript window. Make sure to click on the Update button before leaving the editing page.
Embed a Flodesk Inline form
When you create a new Inline form, at the Embed stage you will find two types of code that you need to copy and paste inside your site dashboard: Header Code and Inline Code.
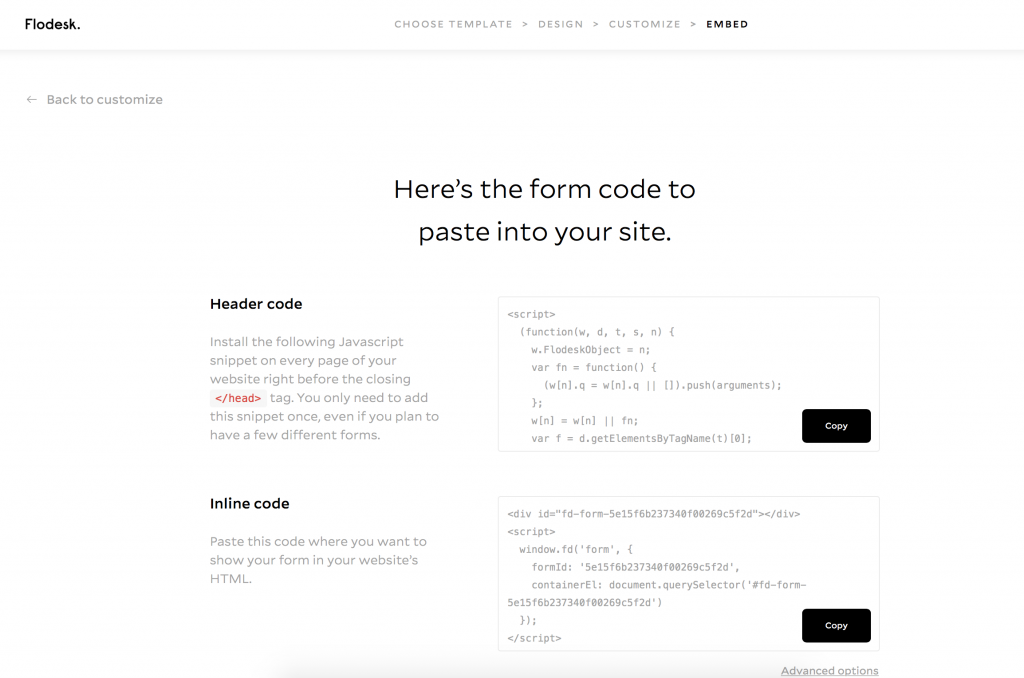
The required steps to integrate the form inside your Flothemes site are as follows:
1. Copy the Header Code and insert it in the Flotheme tab → Generics → Miscellaneous.
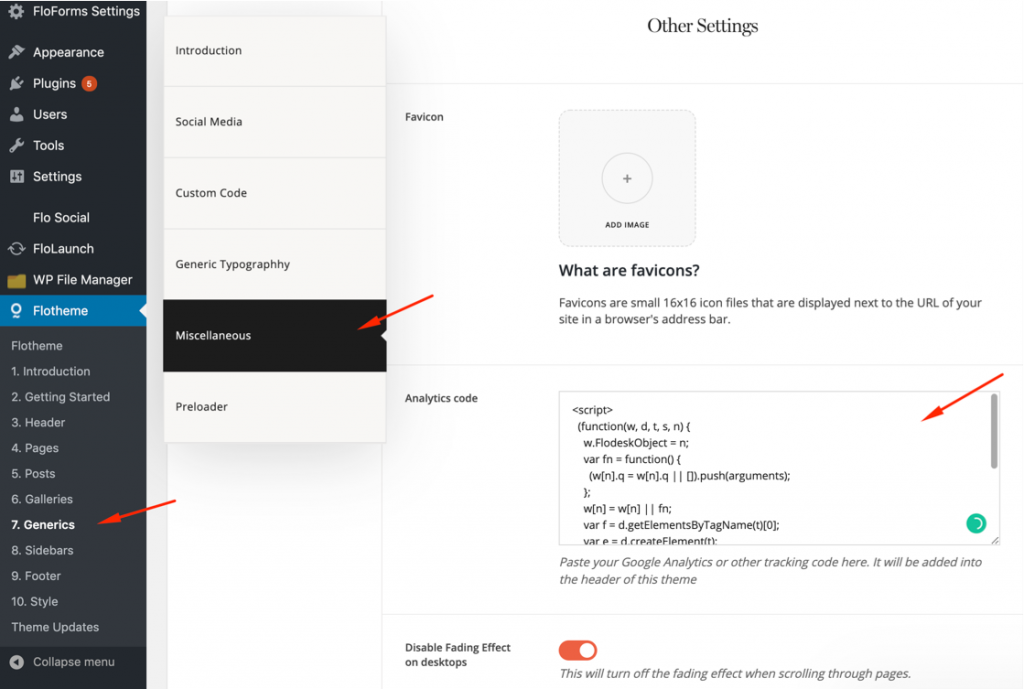
If you already have a script added here, simply paste the Flodesk code below. Save the settings once the code is added.
2. Copy the Inline Code, and go to the page where you want the form to be located.
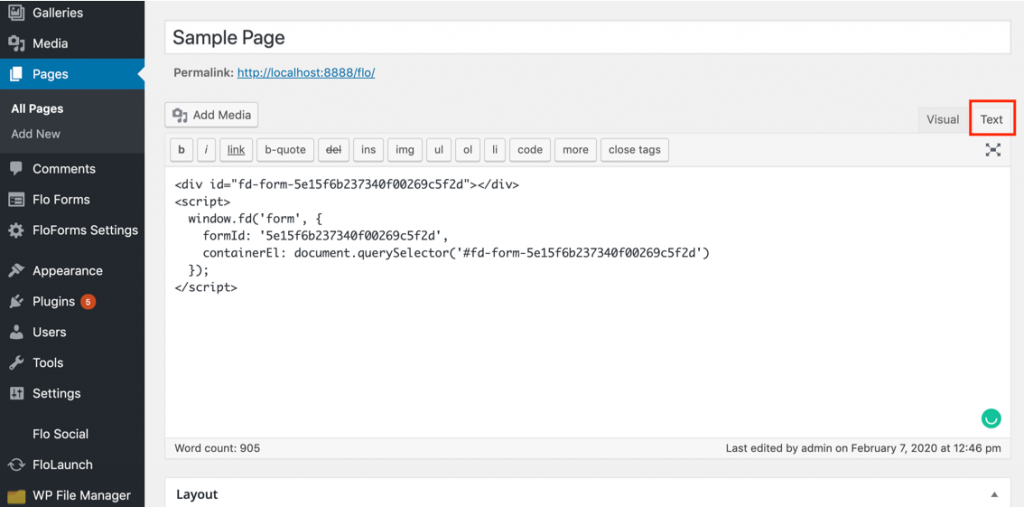
3.1. If you’re using the Classic Editor, go to the WordPress Editor area and insert the code in the text area, as shown here:
3.2. If you’re a Gutenberg Editor user, add a HTML block and simply insert the code there.
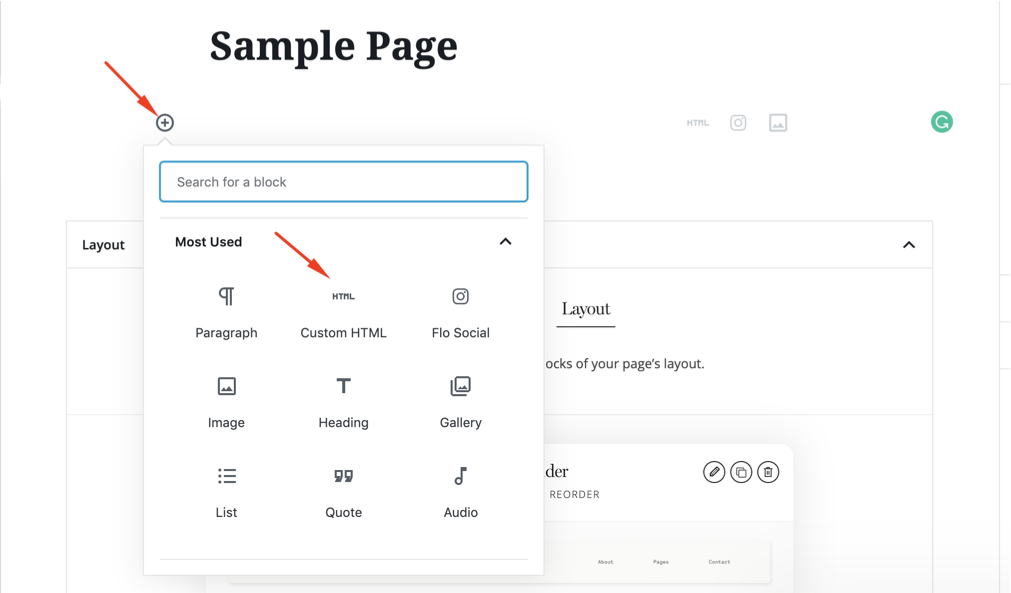
Add a WP Content block (it might be named WordPress Content) and drag and drop it based on the order where you want it to be located on the page.
3.3. The last alternative option is embedding HTML into an element in a Flex block.
In order to add an embed element to a flex block, click on the Add Element icon in your top bar. In the expanded bar click on the Embed/HTML element. Add the copied HTML code to the embed code section:

5. Save the page and check if the form is embedded Ok.