Website Building Strategy
So before you dive into the process of creating a website we strongly recommend that you have a game plan, a road map of what you are going to do to set up your site as effectively as possible.

Below we have listed out the path we would take when starting from scratch. The process is broken down into several steps.
Step 1
1. Creating a sitemap
2. Setting up your website's styling
3. Setting up your Menu
4. Setting up a Homepage
Step 2
1. Header and Logo
2. Footer
3. Permalinks
4. SM Links
5. Google Analytics
Step 3
Assign Templates and add Content
Step 4
Personalization of your theme.
All the above are the basic steps you need to know in order to get started. There are more options such as font and color adjustments, etc. however those are all covered in separate articles.
Step One
1. Creating your sitemap.
You need one before you embark on this adventure. Clearly defining the type of pages you want to have on your website, and what content you want to display on each page - will make a HUGE difference when you start choosing your page template and blocks. It can be as simple as this example.
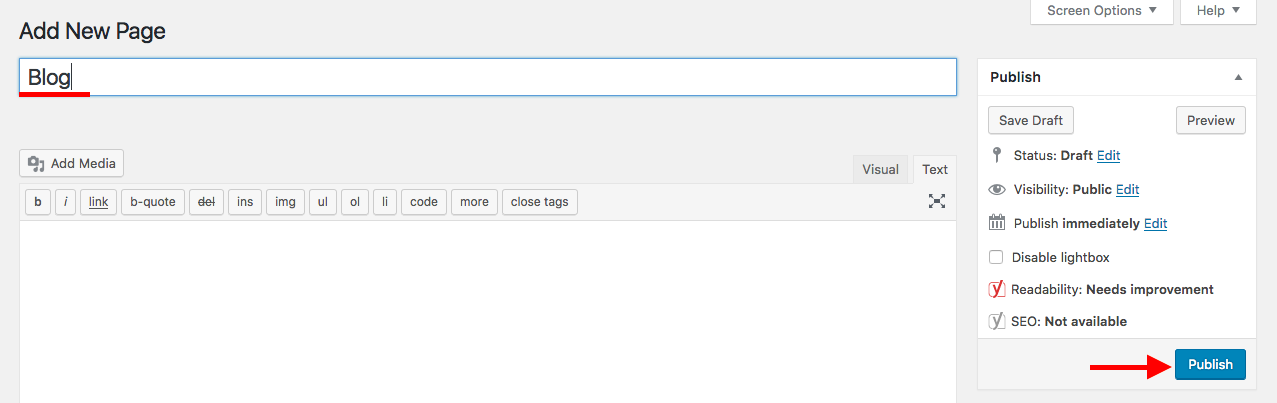
Once you have your sitemap, go to Pages – Add New and begin creating the core website sitemap. Start by creating basic pages like Home, Blog, Galleries, About, Contact, etc.
Add in the Page Title and click Publish. repeat the process as many times as required to build out the core sitemap
2. Setting up your website's styling.
Also known as your website’s style kit. Our themes come with a predefined style kit, yet you can always customize that to create your own. You can add your own custom brand fonts and colors. And you can also subscribe to our awesome library of style kits, which comes with font and color combinations + unique page blocks.
3. Setting up your Menu
Once Pages are created go to Appearance – Menus and confirm the Main Menu you want to assign to the website. There are a few steps you will need to take to finalize the Menu setup.
1. Provide a Menu Title
2. Remove the unnecessary “default” pages like Sample Page, etc.
3. Remove the “custom” Home page added by default to your Menu
4. Click on “Create Menu”
5. Set the Menu as the “Primary Menu” and click on Save
4. Setting up a Homepage
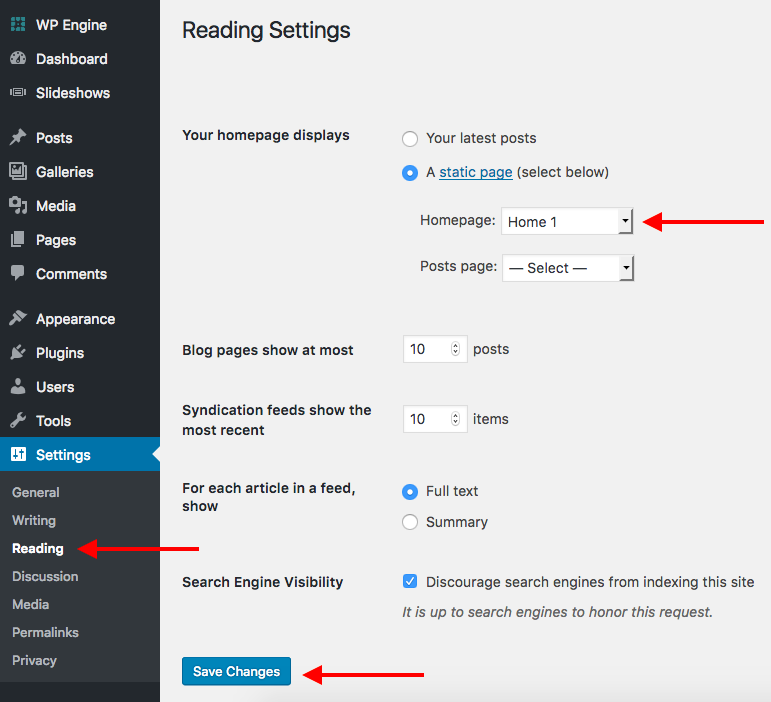
After a page called “Home” has been created, you need to “tell” WordPress which one of the created pages should be the Homepage.
To do this, go to Settings – Reading and adjust the “Your homepage displays” settings to display your desired Homepage.
Here you can select any of the available pages as a Homepage.
Step Two
We would recommend you follow the steps below. They do not have to be in this specific order, but make sure you get them done before moving to the finale stage of adding content.
1. Header and Logo
Go to Flotheme – Header Settings and select the Header Layout you want to implement, and upload your Logo to the website.
2. Footer
Go to Flotheme – Footer Settings where you can add additional content like Instagram Feed, etc.
*If you need more details about how to set up your Header/ Footer, be sure to check out the relevant Theme tutorials on Header and Footer management.
3. Permalinks
Go to Settings – Permalinks and change the Permalinks Settings to POST NAME

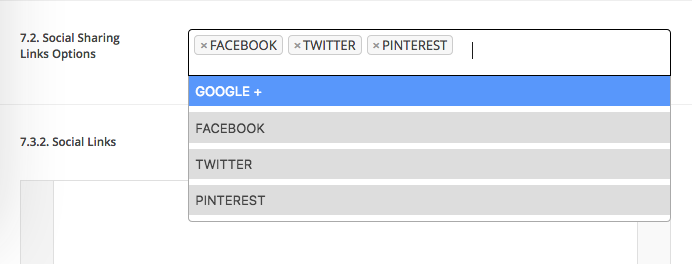
4. SM Links
To add SM Links go to Flotheme – Generics – Social Media.
5. Google Analytics
To add the Google Analytics code, go to Flotheme – Generics – Miscellaneous settings.
Even though this an important piece of the website setup, you can always come back at a later time to set up Google Analytics.
Step Three
Now that you have the “skeleton” setup it’s time to start putting some meat on those bones. This is where you start applying Page Templates to Pages and start adding content.
Head over to this article to get started on applying templates and adding content.
Step Four
The last step is customizing your theme's style kit if needed.
If you have a custom branding that you want to implement, you can swap these 2 steps and start with applying your color and fonts combination before adding content.
For a step by step overview, check this tutorial.