FloForms to Webhook (Zapier)
FloForms is an excellent plugin used by many users to build awesome forms. And Webhooks are endpoints (URLs) to which you can send data.
The FloForms to Webhook plugin allows you to connect your form with any webhook which can receive data in JSON format. If you are a FloForms Pro user you will have this integration available within your plan. If you are a free version user, you can add this integration for a one-time payment (coming soon for free version users).
Zapier is an awesome service to connect your apps and automate workflows! Below we will describe how it works with a Zapier Webhook. Zapier can be used to connect your form to hundreds of services even if no official integration exists. All without any coding required.
Please note that you will need a paid plan on Zapier to use this feature.
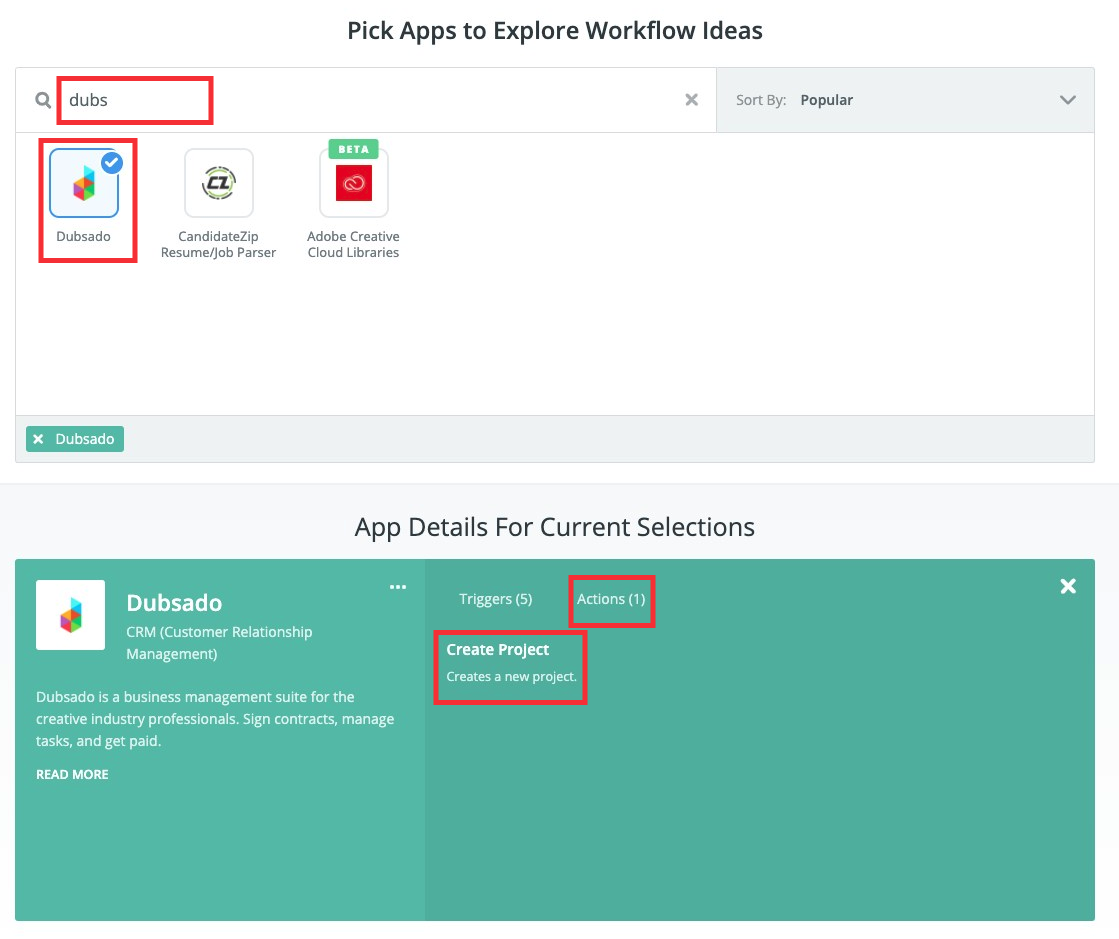
Once your site is connected to Zapier, workflows can be created which are triggered when a form is submitted. For example, you can create a workflow to send a notification to a Slack account when a new form is submitted. Or you can add a new row to a Google spreadsheet when a new form is submitted etc. The possibilities here are endless and depend on your needs and availability of those services on Zapier. The only requirement is for the service you need to integrate with, it must have an action available that works for your needs. For example, if we want to integrate the form with Dubsado, it provides an action that can create a project:
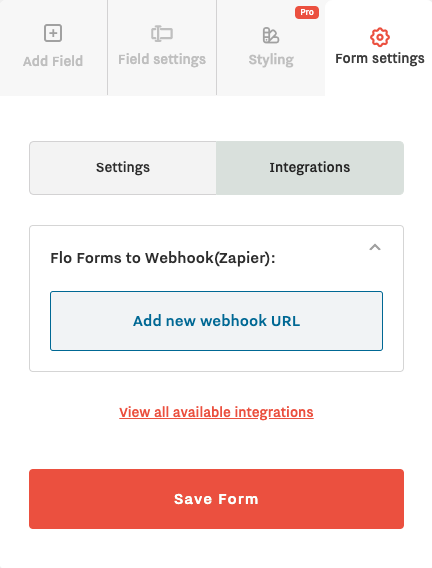
To get started you need to have FloForms activated and then install and activate the ‘ FloForms to Webhook‘ plugin. Once the plugin is activated you’ll find the Webhooks settings under the integration tab for each form, that you create:
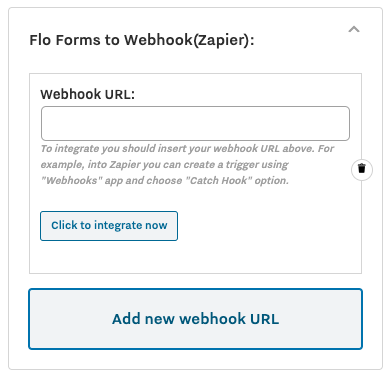
By clicking on the ‘Add new webhook URL’ button we can add one or several Webhook URLs where the form data will be sent to. And yes, we can send the form data to several services at once if necessary!
To get the Webhook URL from Zapier the following steps must be followed:
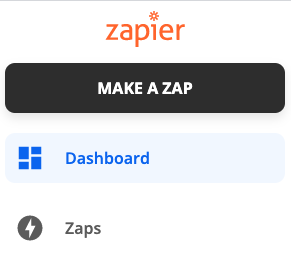
- Log into your Zapier account and click on ‘Make A Zap‘ from the top left corner:
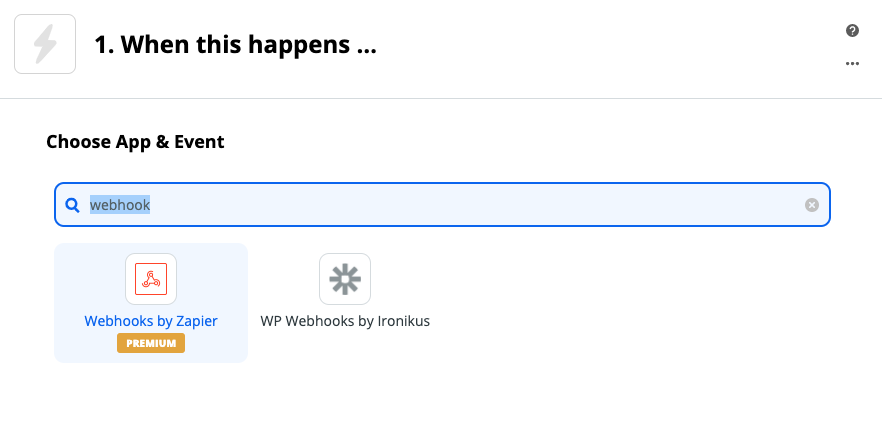
- Then on the 1st Zap’s step type in ‘webhook’ and select ‘Webhooks by Zapier‘:
- Then select ‘Catch Hook‘ as the trigger event. And then click on ‘Continue’:

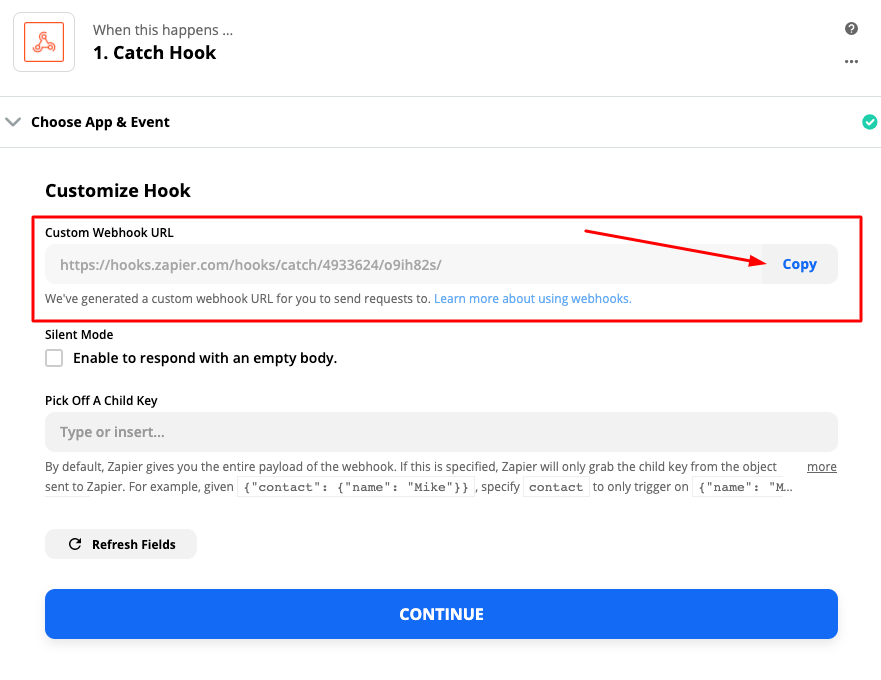
- At this step, Zapier will provide the Webhook URL. You can copy it and then paste it inside your form’s settings.
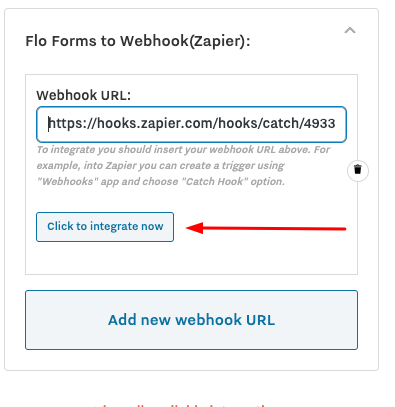
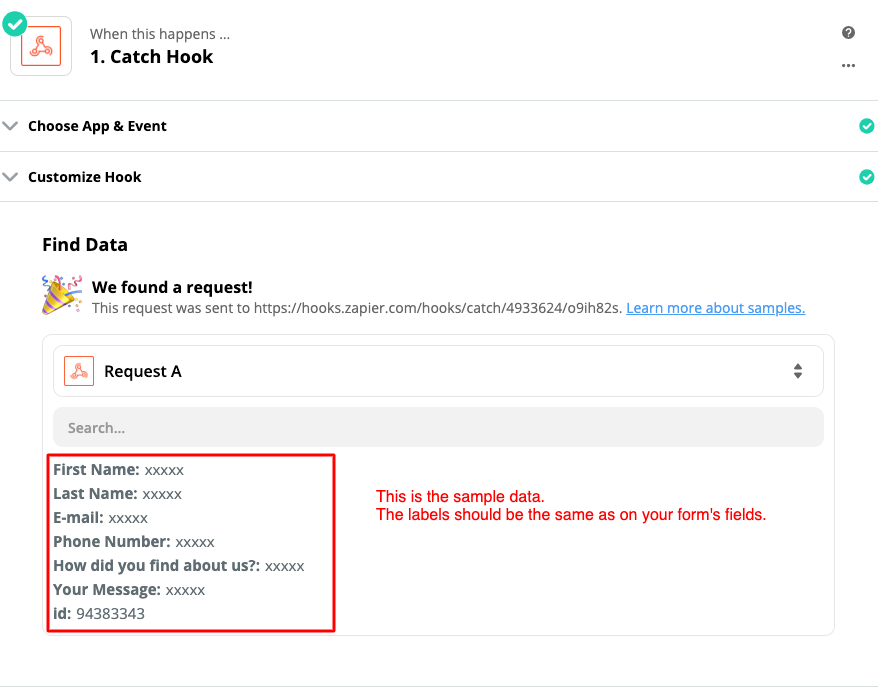
- After you paste the Webhook URL inside your form’s settings, click the ‘Click to integrate now‘ button. This will send a sample of the form’s field to the provided Zapier URL. And Zapier will know what fields to work with.
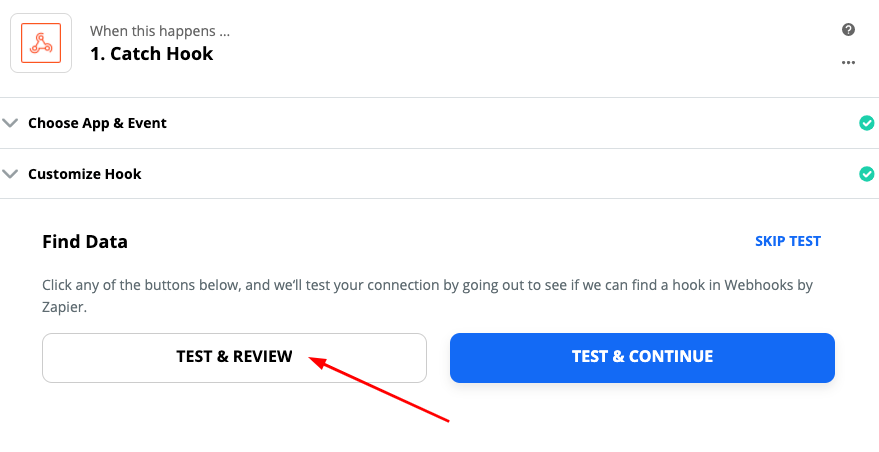
- Then go back to Zapier and click Continue. And then click ‘Test and review‘. And if everything went well, you should be able to see the test data:
- Now you are done with the first ZAP step. Next, it depends on which service you need to integrate.
After finishing setting up the Zap, don’t forget to turn it on and then send a test form submission to make sure it works as expected.
Popular Integrations
Below are listed examples of the most popular integrations:
- Create a Dubsado Lead. Read how to integrate your Zap with Dubsado here.
- Add a row to a Google Sheets spreadsheet from a FloForms form submission
- Create File from the submitted text in Google Drive
- Send a Slack message
- Create Trello cards from Forms form submissions
- Create text files in Dropbox from FloForms form submissions
- Create tasks in Asana from FloForms form submissions
- Create Zendesk tickets from FloForms form submissions
- Create a Sprout Studi Lead or Shoot from FloForms form submissions