How blogging works in WordPress
Table of Contents:
1. Gutenberg & Classic Editor
2. Video Overview: Gutenberg & Classic Editor
3. Gutenberg Blocks
3.1. Adding Images
3.2. Adding 2 Images side by side
3.3. Adding Text
3.4. Adding Video
4. Classic Editor
5. Categories and Tags
6. Featured Image
7. Blog Post Content
8. Blogging: Video Tutorial
1. Gutenberg & Classic Editor
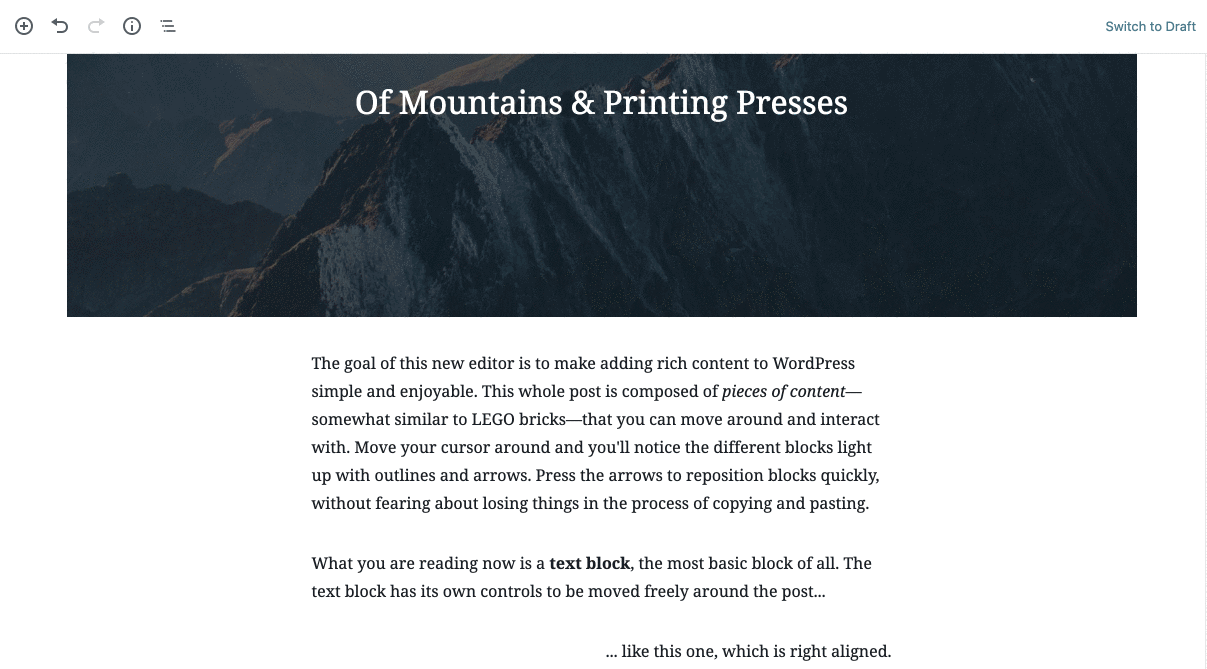
With the introduction of Gutenberg in WordPress 5.0, there are now 2 ways to create blog posts: using the Classic or the Gutenberg editor.
In the following tutorial, we are going to show you how to create blog posts using the new Gutenberg builder with Flothemes. Check the next section for instructions on how to use the classic editor.
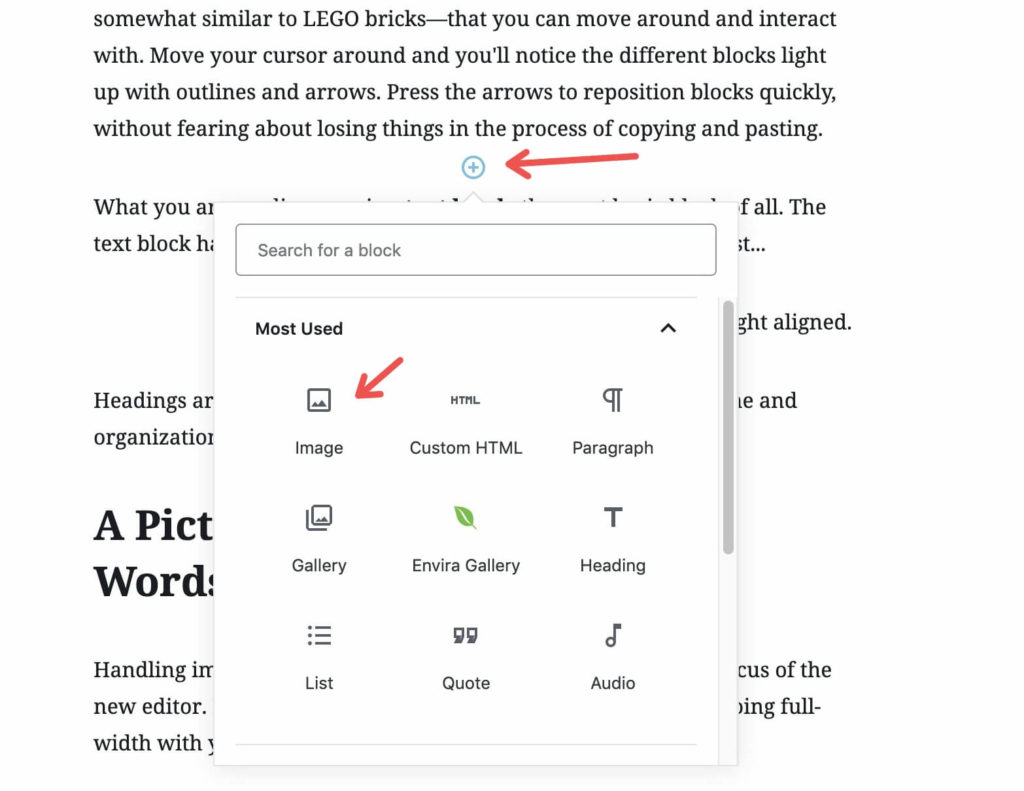
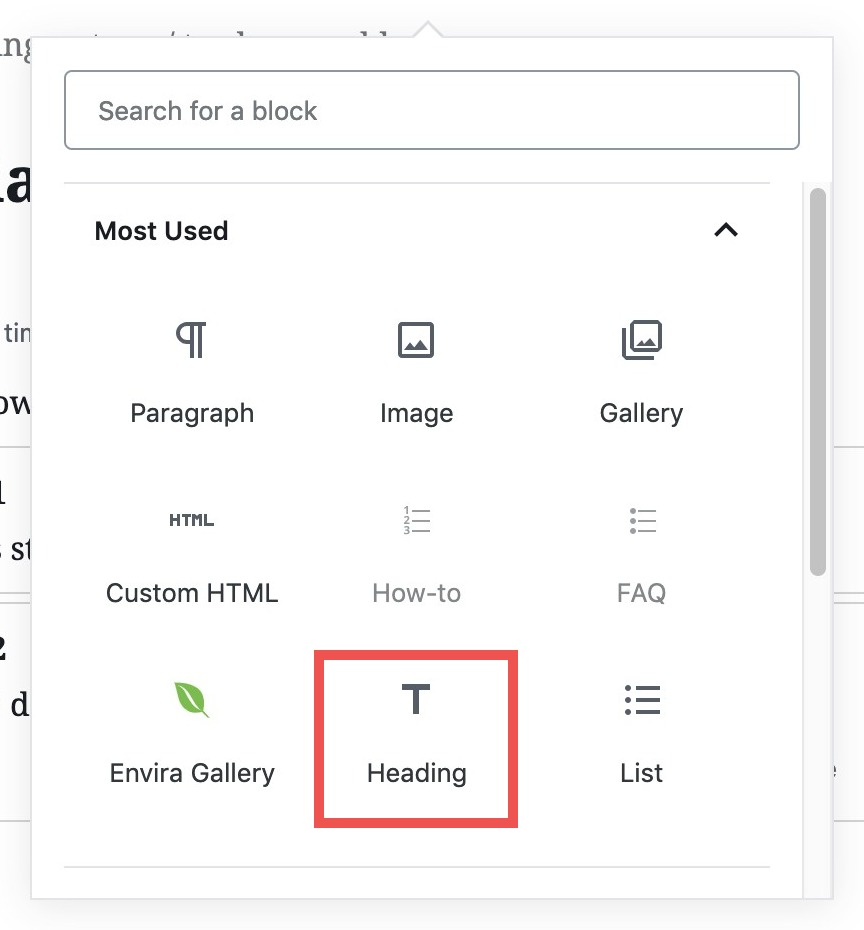
To add a block with Gutenberg is simple, there are 2 ways to add blocks, top left, by clicking add block, or inside the post, just hover over the text area, and click on the plus icon.
2. Video Overview
In the following video, we explain how to use the Gutenberg to create blog posts with Flothemes.
3. Gutenberg Blocks
With the new Gutenberg builder, you will have blocks added to your blog posts. This will allow you to add blocks to create your unique posts. You can see a full list of the Gutenberg blocks here.
3.1. Adding Images
Adding images with Gutenberg is different than with the classic editor, as you need to add the images one by one (unless using the gallery block). It also automatically applies the sizing “large” to images which for most users will be the maximum width of 1024px which can mean images are blurry. This will mean you need to manually adjust all images to be a full size which can be very time consuming, especially for photographers.
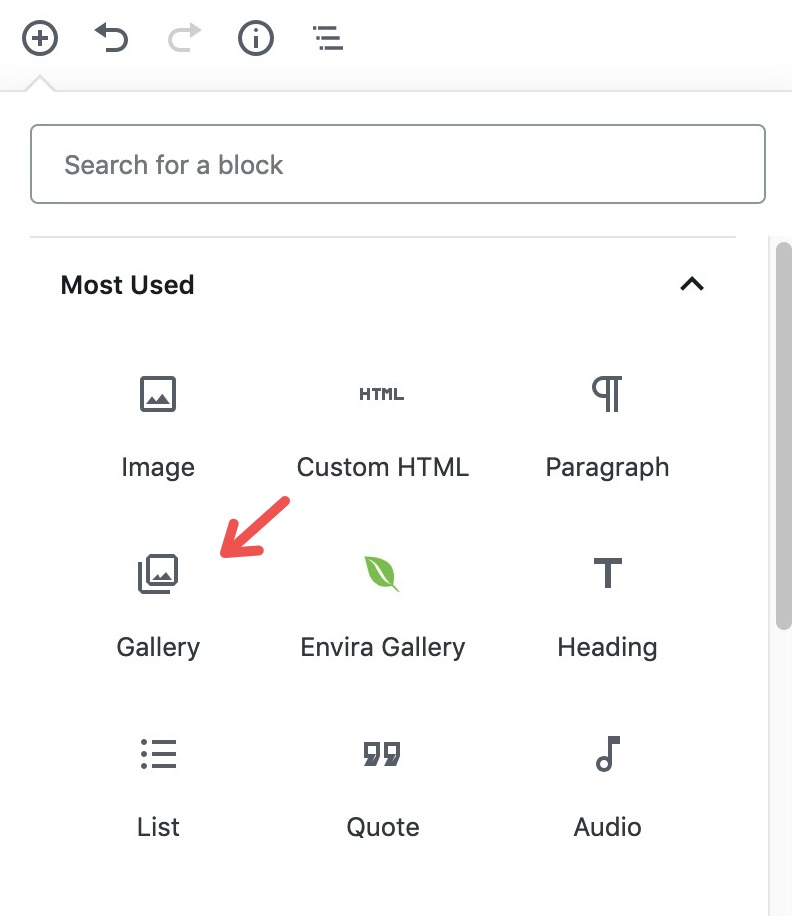
To add an image block, it’s the same process as adding any block, just click on the plus icon and choose an image block or image gallery block.
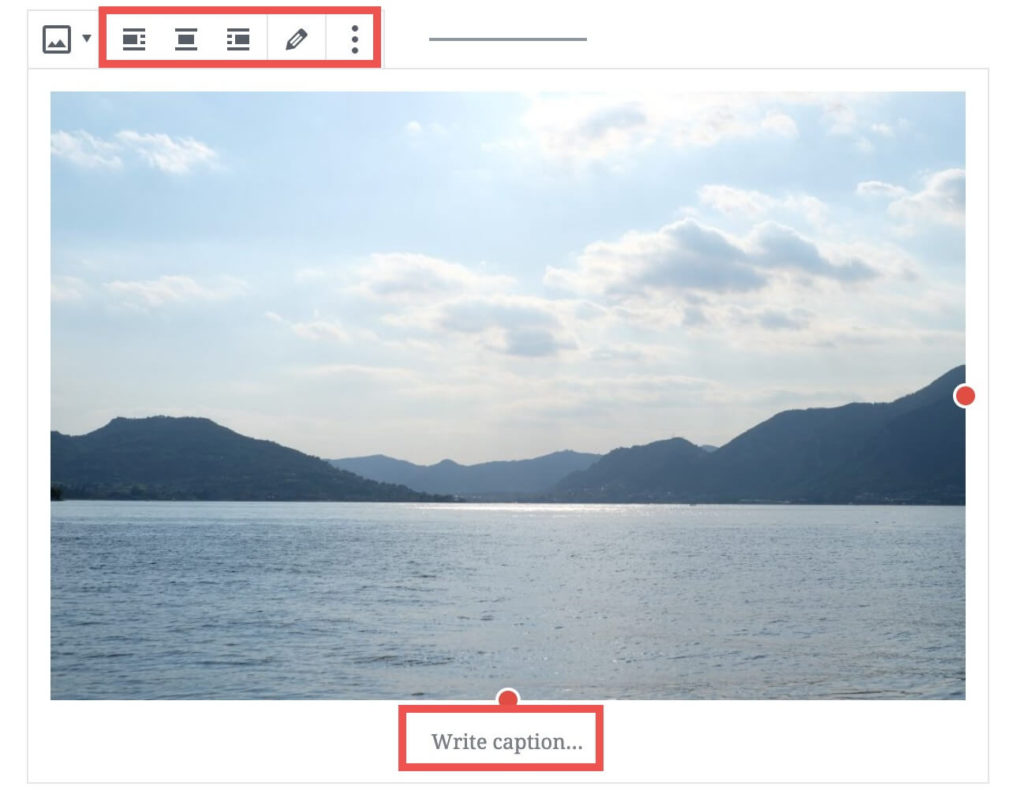
Once the image is inserted, you can resize it, edit it, add a caption and align it.
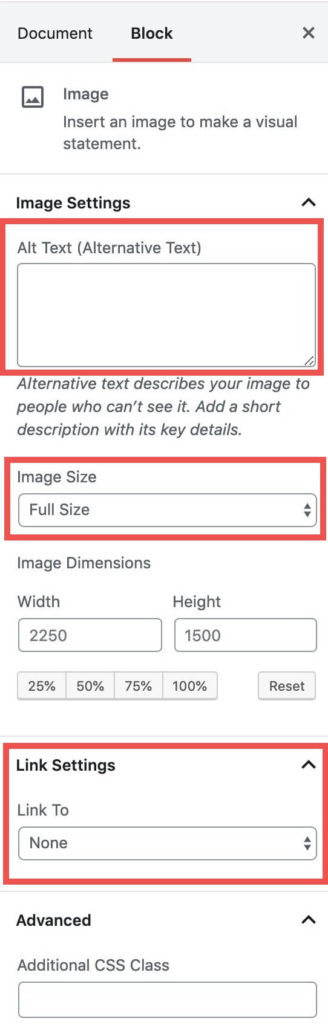
In the right-hand sidebar you can also add the ALT text for your image, highly recommended for Image SEO, you can choose the image sizing and dimensions and also link the image to a URL.
3.2. Adding 2 Images side by side
One of the main advantages of using Gutenberg when creating blog posts, is the gallery feature, which allows you to add 2-3 images side by side.
You can also use the gallery feature to add all images in one list.
The process is the same as before, add a new block, but this time choose a gallery block:
You can then choose a number of images to be in the gallery from your media library or by upload them. Once selected the gallery will be inserted into the post.
You can then choose the number of columns between 1-3, if you want to crop the images to make them align nicely, and if you want to link them to anything, in this case I suggest keeping “link to” set to none.
If you have 3 images, and 2 columns, you’ll notice that the last image is full width.
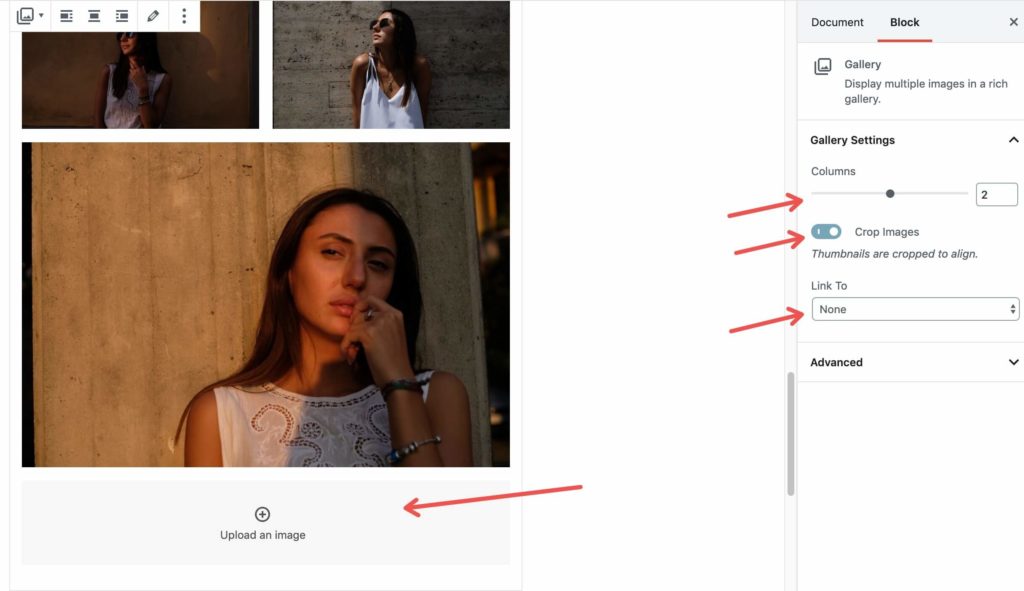
You can also click on the upload an image option to upload more images for the post.
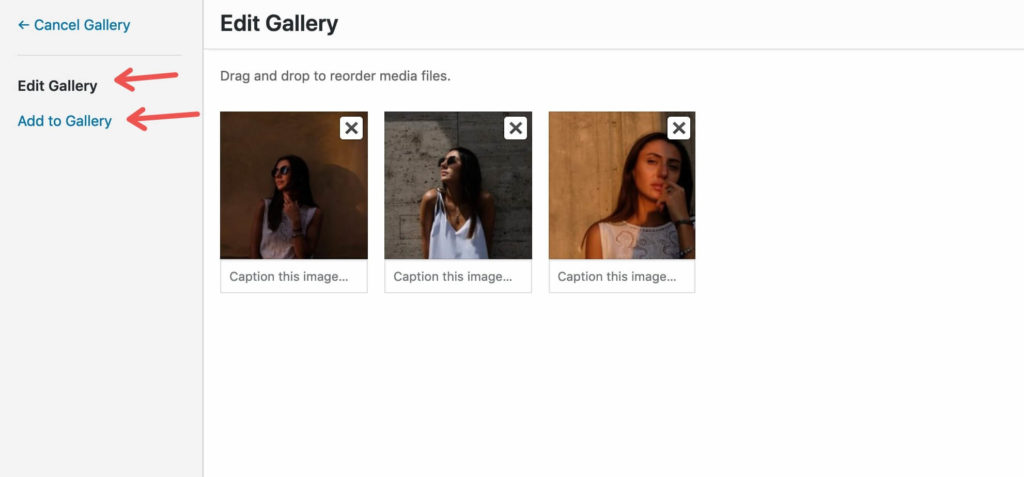
If you want to add more images from your media library, or change the order of images hit the pencil icon on the left side. Drag and drop images into order, or choose add to gallery to add more images.
3.3. Adding Text
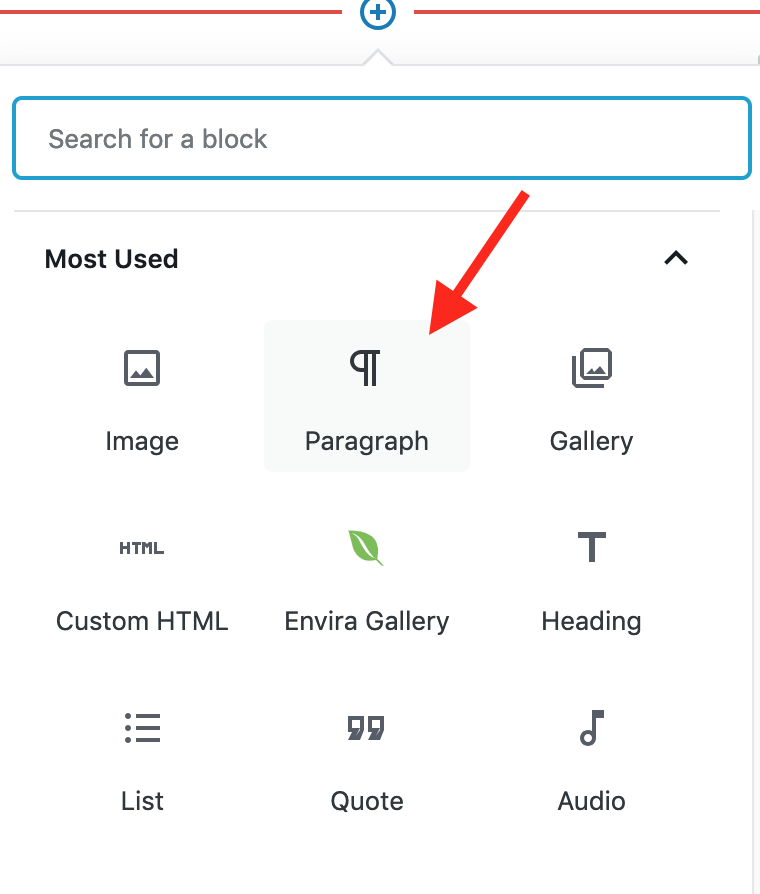
Adding text to your post is simple, using the same method as before, choose to add a new block, then choose a paragraph block:
Add your text as you would normally. Pressing enter allows you to add a new paragraph.
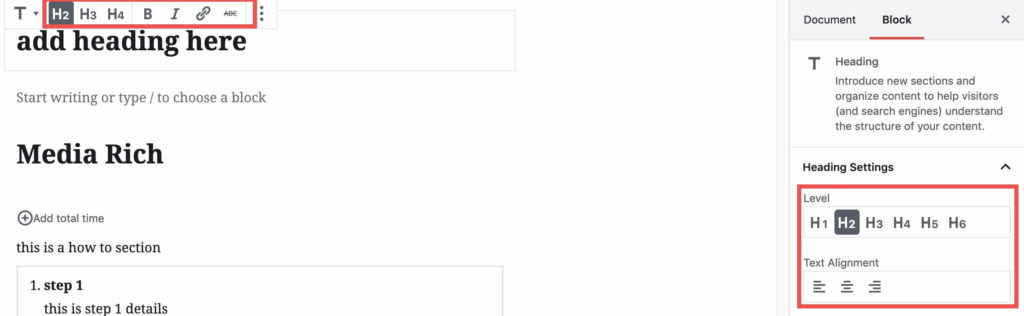
If you want to add titles and headings, you can use the heading block. This will allow you to choose headings between h1-h6.
You can choose the header hierarchy by clicking on it, and using the inline options, or the block options on the right:
Using headings is a great way to break up articles, and to let Google understand know what sections are inside it. We highly recommend using them for longer articles.
So that’s how you can add text and titles with Gutenberg. In the next section we quickly look at how you can add a video.
3.4. Adding Video
Adding a video is the same process as adding any block. Simply click the add new block plus symbol, and then filter by blocks.
You can choose to add the Vimeo, Youtube, or embed block (amongst others) from the “Embeds” section.
We highly recommend using Youtube or Vimeo when adding a video to your site as it will improve the loading time for your clients.
Just choose the block you want, add the URL, and click embed:
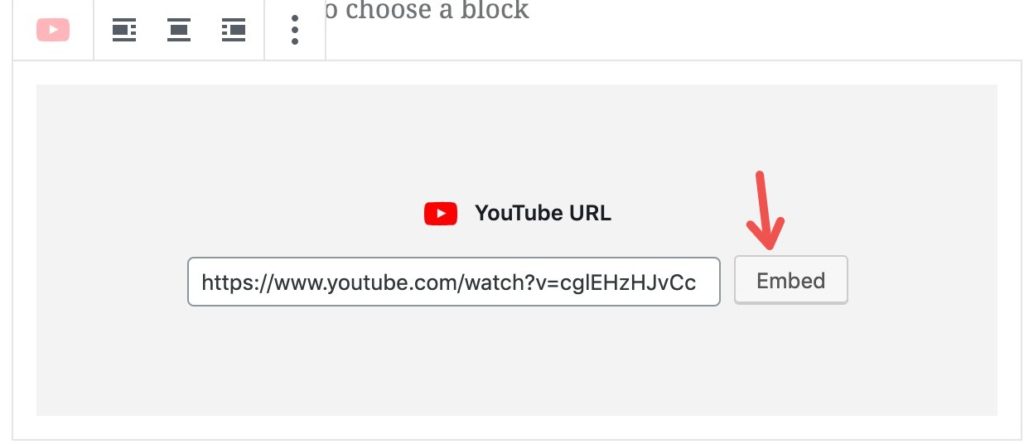
You’ll then have a video embedded into your post.
4. Classic Editor
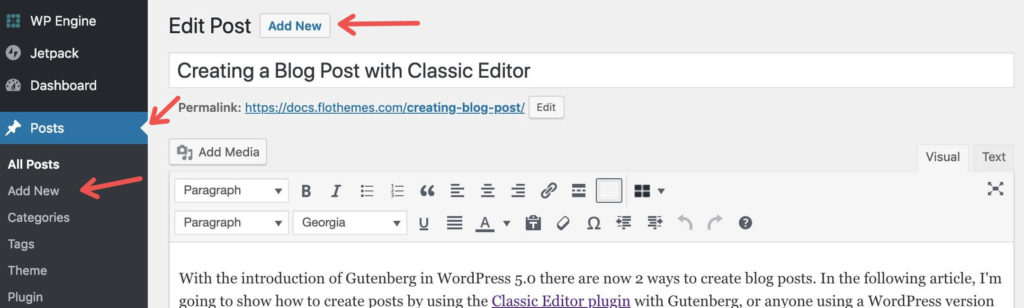
To switch to the classic editor, you first need to install this plugin.
Next, to create a Blog Post, go to Posts – Add New/
Blog Post Title
Start the process by adding in the Blog Post Title and then proceed to add content and all other details related to the Post.
If you skip adding the Title initially, the Post Permalink will end up having a number instead of the Post title as it should. You can still edit the Permalink later on if required.


5. Categories and Tags
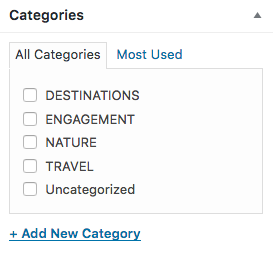
Categories
Once you’ve settled with the Blog Post Title proceed to add the Post Category. Keep in mind that if you do not add a Category, the post will be categorized as “Uncategorized”.
6. Featured Image
Featured Images are used primarily as a Post preview or thumbnail image within a Listing Page, they are also used for sharing on social media (If not using Yoast).
In some cases, Featured Images are also used as a cover image within an actual blog post.

Please have a look at the Post Featured Image article for more information.
7. Blog Post Content
To add Blog Post Content, you will need to use the default WordPress Text Editor
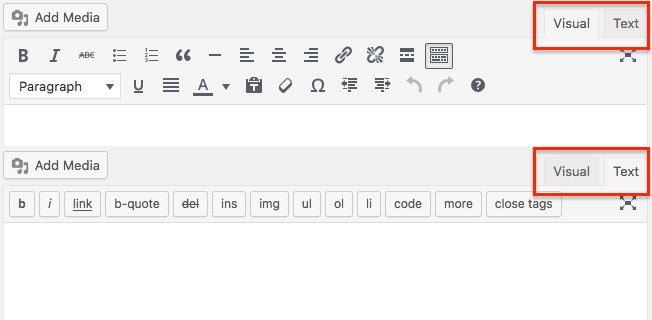
Here you will be able to add Images, Text, Video, etc.