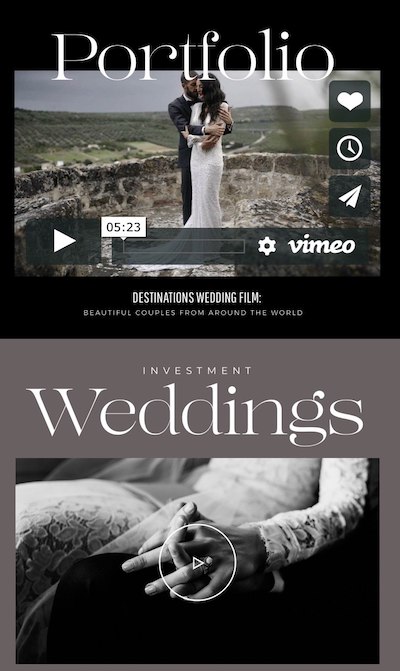
Video in Flex
Adding Video
In order to add the video element to your Flex block, click the Add Element icon and in the expanded bar click the Video element or drag & drop it into the block building area. In case you click on it, it will appear right in the center of the block.

Video Settings
Double-click the new Video block to expand its settings that will appear to your right side:
- at the top of each element’s settings, you will see the Sizes and Positions section. This is an informative section where X and Y show the top left angle position, o shows the rotation angle, W and H show the width and height of the element. These fields are functional and you can use them to move, resize or rotate your element. However, the same actions can be achieved by manually tweaking the element with your mouse.

- In Video Options you have 2 tabs where you select if you want to use a link to the video on Vimeo or Youtube (Embed), or to upload a video file (Self-Hosted).
In case you upload the file, we recommend using a short video to keep the file size as small as possible.

- After adding your video, you can manage the video autoplay, loop and mute settings. Disabling/enabling Controls will work for YourTube and Vimeo Pro videos (regular Vimeo doesn’t support this functionality), as well as for self-hosted video files.
- You can upload an image that will be the video cover and will be displayed with Play Button above it. The image will be cropped to correspond to Video element proportion and you can select the image focus area.
- You can control the Play Video button color and size.
- Custom classes is an option for advanced users that allows to add custom CSS to the element.
Video on Mobile
1. Autoplay on mobile (and on Desktop for that matter) will work only if the Mute option is On. The limitation comes from the default settings of the browsers we use.
2. Please note that as soon as you add the video to the mobile layout, it creates a copy of the block on desktop and you can manage the mobile video separately. On the desktop, you can have it without the image, autoplayed and looped, while on mobile it may have a cover image with a play button (for a cleaner look) since you can tweak video settings after it is added to mobile layout.
3. Example of the video added without the cover image (having forced controls on mobile) and the video with cover image (that may not be added for the desktop version of the same block).

Useful Info on Video usage
Let’s go through some examples of how you can add the video to the page. Let’s use this page as an example:
- You can make it full screen or having some other blocks to the left or right – so size it as you want.
- We developed the block so that you will never get black background pieces to the left or right. When you add the video you will see that it will always fit the width of the block and you can tweak the block height to either match the video or crop it a bit (why doing it? look at point 3).
- As mentioned above you can hide controls of the video and have it autoplayed for smoother look, that is not working with a regular Vimeo account. However, if you enable autoplay for a video uploaded with regular Vimeo, you can crop its height to hide the controls and have more narrow but smooth no controls video.
- Use Image with a button as the video cover. When you click the Play button the video will start playing and will function according to its settings.
- If you add a text above the video, you can add a Shape element above the video (below the text) with dark color and opacity – it will make the text readable (the first block on the page has 30% opacity Shape above the video).
- A fullscreen video that is displayed without controls, autoplayed and looped, with some color overlay above it can work as a perfect background for an info block like About Us.
- And the tricky one – you may use a png file with transparent elements (text or your logo), being displayed above the autoplay video that will create a very interesting effect like the last example here.