Image in Flex
Adding an Image
The Image element is one of the main elements with the Flex Block builder.
In order to add an image to the block, click the Add Element icon in your top bar. In the expanded bar click on the Image element or drag & drop it into the building area. In case you click on it, it will appear right in the center of you block building area.

Image Settings
Double-click on the new Image block to expand its settings that will appear on your right side.
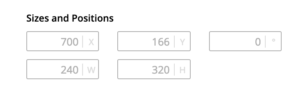
- at the top of each element’s settings, you will see the Sizes and Positions section. This is an informative section where X and Y show the top left angle position, o shows the rotation angle, W and H show the width and height of the element. These fields are functional and you can use them to move, resize or rotate your element. However, the same actions can be achieved by manually tweaking the element with your mouse.
- Upload Image section allows you to insert the images from your computer or your site Media Library
- Image opacity allows us to add transparency effect to the image.
- After you upload an image, you will see the Crop Image option below it. If activated, it will allow you to select the visible area of the image within the element frame. If the option is disabled, the image will fit the element frame.
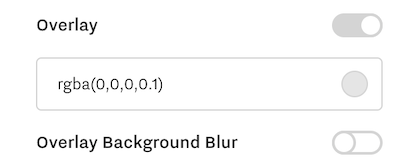
- Overlay option allows you to add a color overlay over the image (you can choose the color and overlay intensity), if checked it will also provide an option to blur the image.
- Use the Original Resolution option is described below.
- Use the Parallax option to scale to control the amount of movement you want to add to the scrolling experience of the user. Recommended for full-width images.
- You can add a link to the image if you activate the Use Link option.
- Corners radius gives you an option to round the image corners.
- Outline Border if activated allows you to add a border around the image, as well as manage its width and color.
- Custom classes are an option for advanced users that allows them to add custom CSS to the element.
Use Original Resolution option
Depending on the element frame size in the Flex Builder, Flex will resize the image you upload for a better speed site.
How does Flex do it?
Let’s take an example of a 2400*1600 px image (originally) that is used for the frame of 700*600 px size.
Flex will take the longest side (700px), double it, and create an image of 1400*933 px that will be used on the frontend. (Actually, it creates 3 versions of the image – for desktop, tablet, and mobile).
If you want to disable the resize logic from Flex, you have enabled Use Original Resolution option that will allow you to display the original image without optimization. Please note that using images of too big resolution will negatively impact your page performance. Check the images size article here.
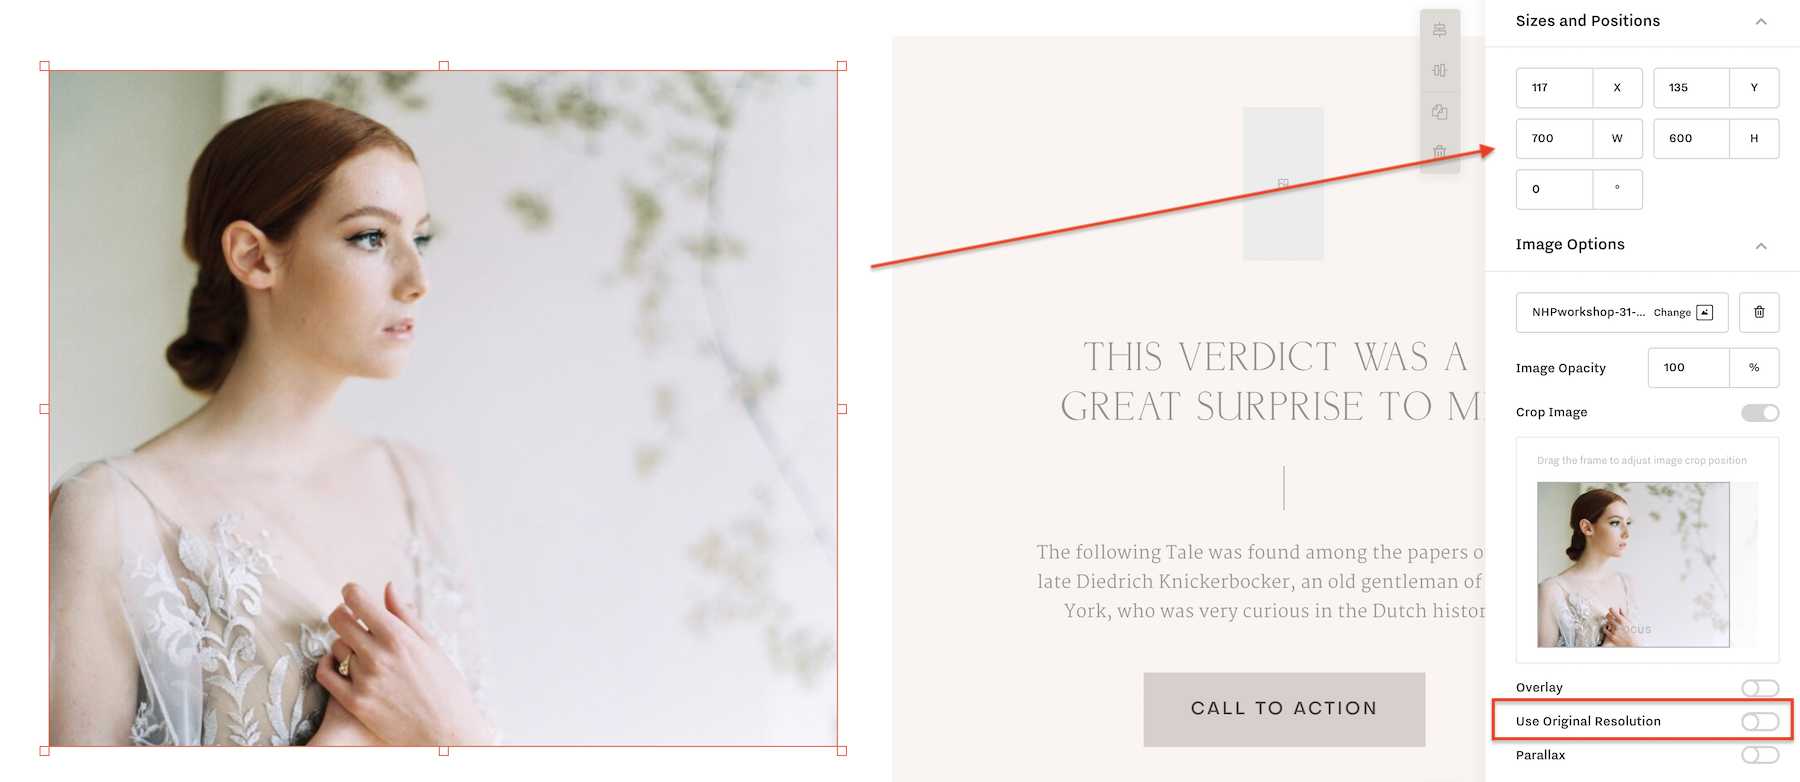
Image Masking
We're introducing a new Image Masking option that allows you to easily apply shapes to your images (i.e. ellipse, arch, etc.) and create more original layout for your website.
At launch, the option contains 6 masks that add beautiful decorative shapes to your images. The Image Masking Option can be accessed in the Element Settings menu. To activate a Mask, select the Enable Mask option and choose the one that suits your style the best.
The masks can be further customized through the following settings:
- Mask Size
- Mask Vertical Placement
- Mask Horizontal Placement
